
 English
 Español
 中文简体
中文简体
Content
If your mop head keeps popping off, the problem is usually the connection type, not the mop itself. Most mop heads attach in one of five ways: threaded socket, snap-in tab, clip-on lever, hook-and-loop pad, or push-and-twist collar. Once you identify which one you have, installation takes less than two minutes. The steps below cover the common mechanisms and the small details that prevent a loose fit. Start by turning the mop upside down and looking at the joint where the handle meets the head. That single look will tell you which method to use.
Identify Your Mop Head Connection Type
Before you force anything, look at the bottom of the handle and the top of the mop head. A threaded socket has visible spiral grooves inside the handle opening. A snap-in tab has a small plastic tab on the head that matches a hole on the handle. A clip-on lever has a hinged clamp near the base of the handle. A hook-and-loop pad is flat and covered with tiny loops or hooks. A push-and-twist collar has a rotating ring above the handle base.
| Connection Type | Typical Mop Style | How It Locks | Installation Difficulty |
|---|---|---|---|
| Threaded socket | Spin mop, twist mop | Screw the head clockwise onto the handle | Easy |
| Snap-in tab | Flat mop, sponge mop | Push the head until the tab clicks into the hole | Easy |
| Clip-on lever | Butterfly mop, some flat mops | Open the lever, insert the head, close the lever | Moderate |
| Hook-and-loop pad | Flat mop with microfiber pad | Press the pad onto the base; no tools needed | Very easy |
| Push-and-twist collar | Commercial mop, Kentucky mop | Push the head onto the handle, twist the collar to tighten | Moderate |
If you cannot tell by looking, try turning the head counterclockwise. If it starts to unscrew, you have a threaded socket. If it wiggles but does not unscrew, it is likely a snap-in or clip-on design. A hook-and-loop pad will peel away with light pressure. Never use pliers on plastic parts; you will crack the socket or snap the tab.
General Steps to Put a Mop Head On
Regardless of the specific mechanism, the process follows the same logic: prepare the handle, align the parts, secure the connection, and test the fit. This order prevents cross-threading and uneven pressure.
- Remove the old mop head. If it is threaded, turn it counterclockwise. If it is a snap-in, press the release tab and pull. If it is a clip-on, open the lever and slide the head out. If it is hook-and-loop, peel the pad off.
- Clean the handle socket. Dirt, dried detergent, or lint inside the socket can stop the new head from seating fully. Wipe the inside with a dry cloth. For threaded sockets, use an old toothbrush to clear the grooves.
- Align the new mop head. Threaded heads should sit straight, not tilted. Snap-in heads need the tab lined up with the hole. Clip-on heads need the flat edge inserted first. Hook-and-loop pads should be centered on the base plate.
- Lock the connection. Turn threaded heads clockwise until snug, then stop. Do not overtighten. Push snap-in heads until you hear or feel a click. Close the clip-on lever firmly. Press hook-and-loop pads down with your palm.
- Test the fit. Pull the head gently away from the handle. It should not move. Twist the handle as you would during mopping. If the head slips or spins, release the lock and try again.
If the head uses a collar, tighten it by hand only. A quarter-turn past snug is enough. The collar is designed to compress a rubber or plastic sleeve, and extra force will strip the threads inside the collar.
Installing a Flat Mop Head
Flat mops are common in homes because the head is low-profile and the pad is easy to change. The connection is often a snap-in tab or a hook-and-loop base plate. Some flat mops also use a push-and-twist collar. The key with flat mops is to keep the head flat while you lock it. If you tilt the head, the tab may miss the hole or the pad may attach off-center.
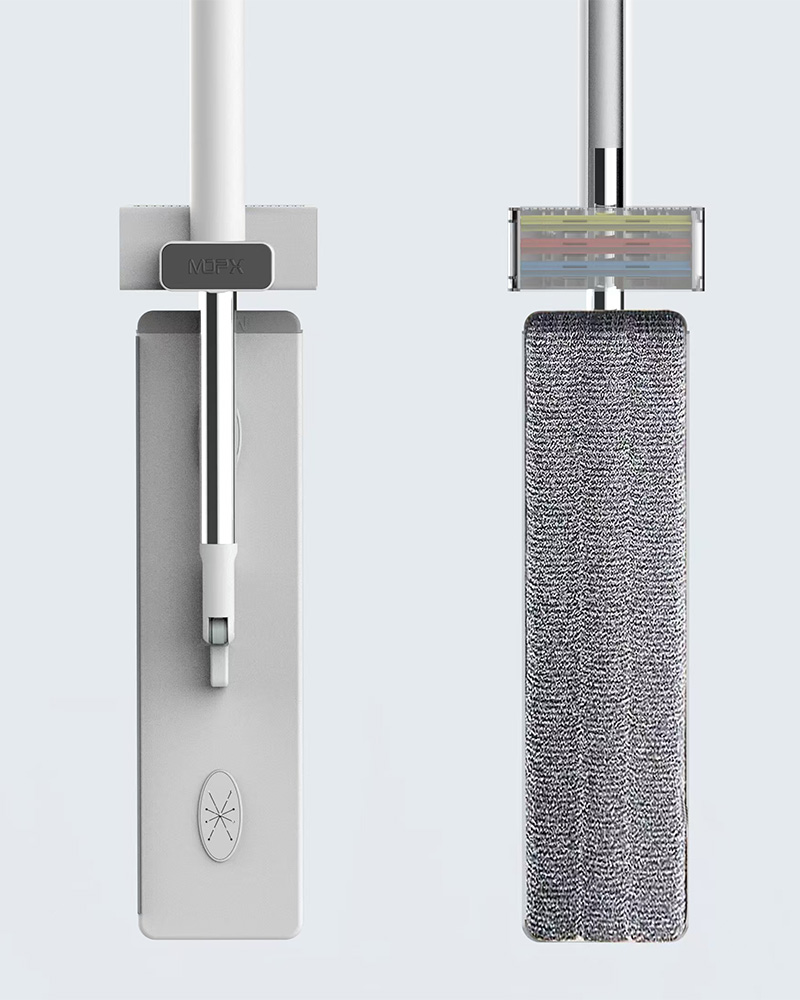
MOP X flat mops, for example, use a 360-degree rotating head that snaps into the handle base. The socket is designed so the head can pivot without loosening. To put the head on, hold the handle vertical, align the tab with the slot, and push until it clicks. Then rotate the head left and right to confirm it moves freely but stays attached.
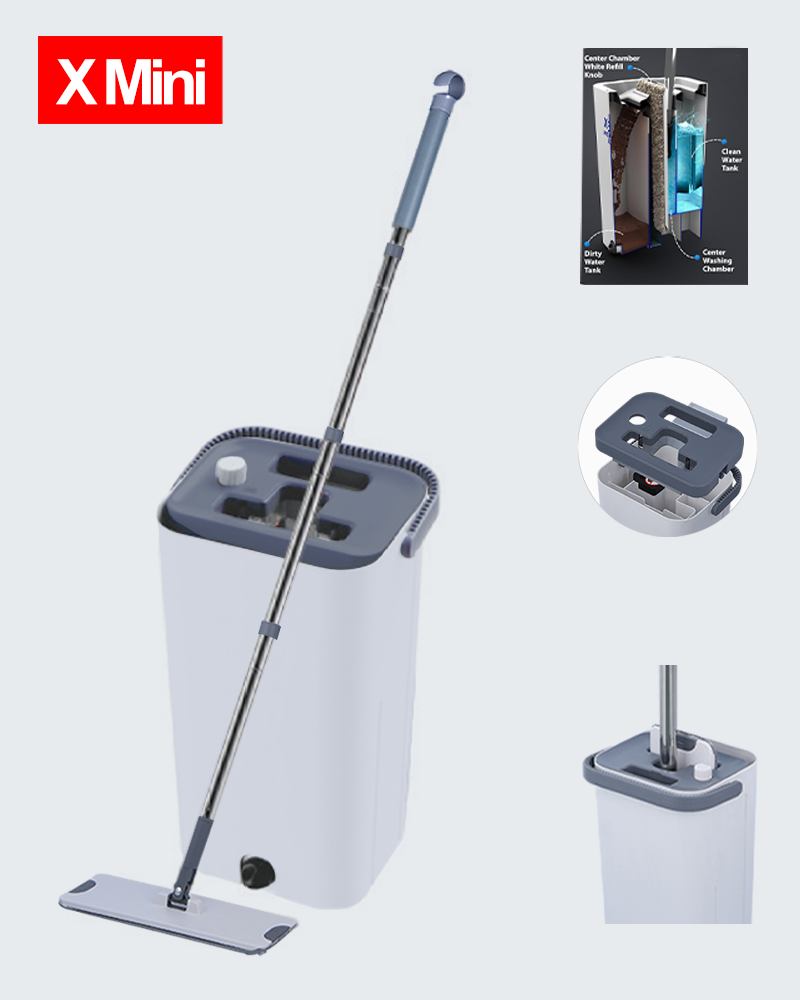
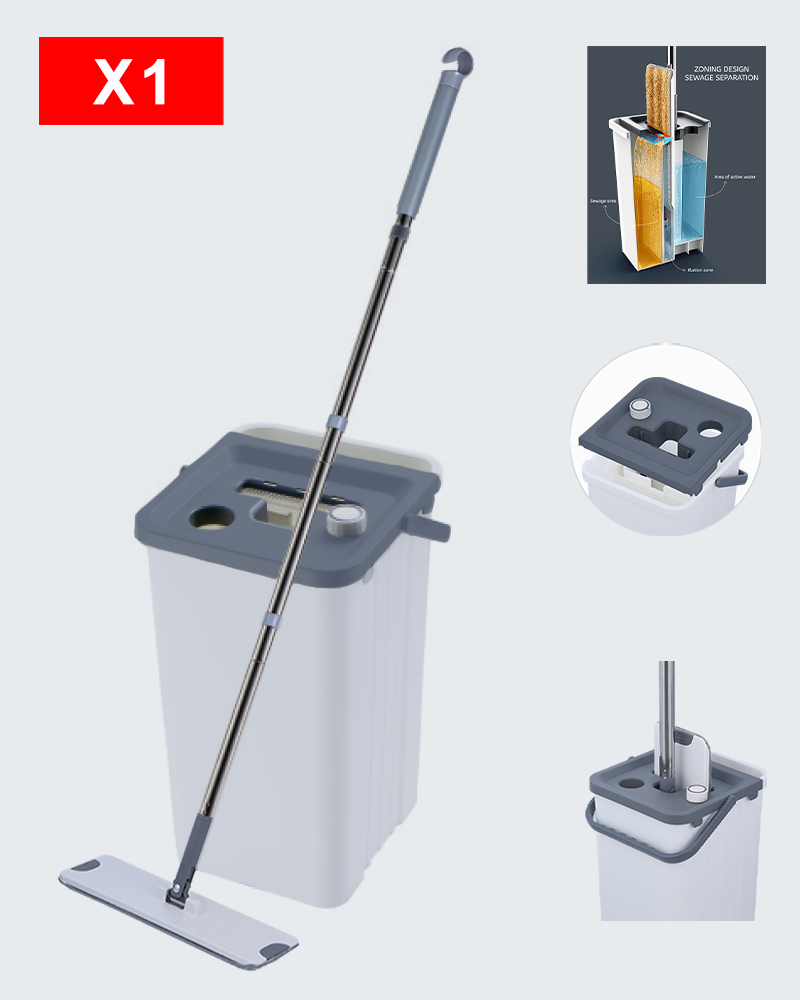
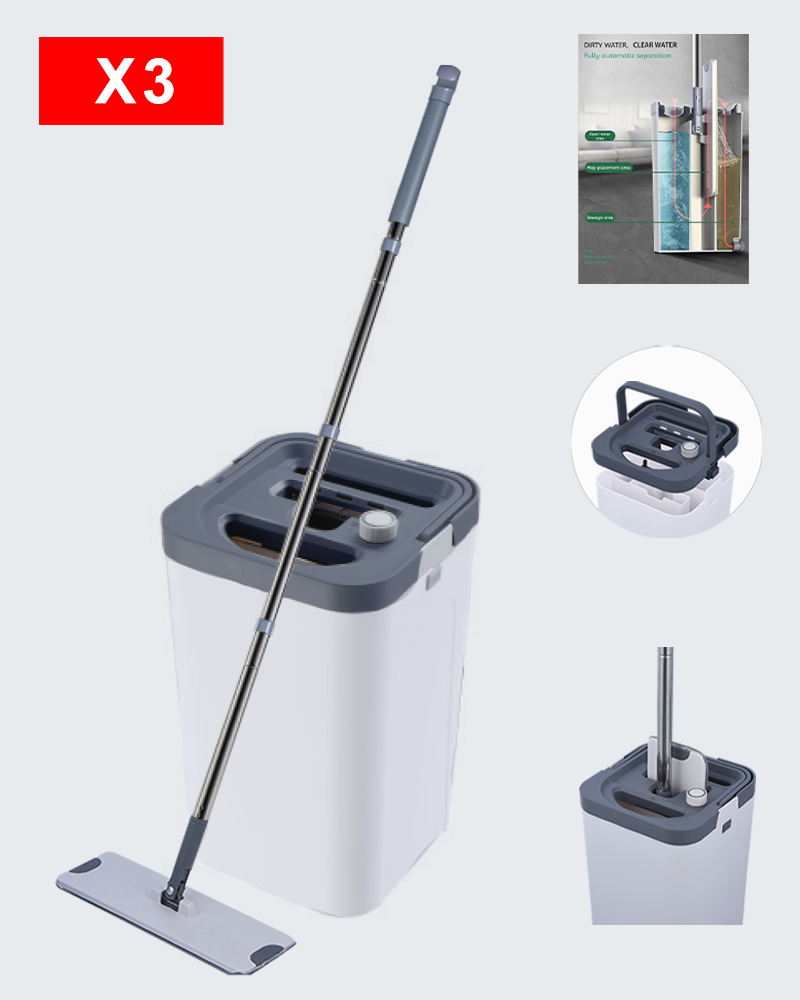
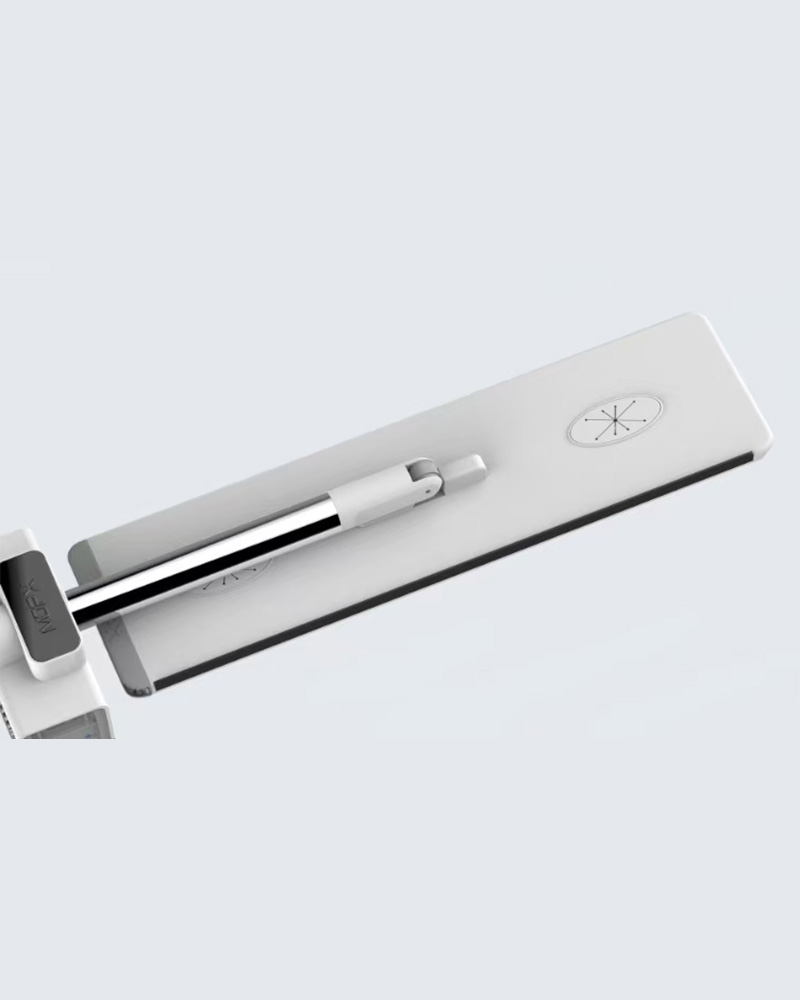 Mopx Flat Mop with Dual-Compartment Water SystemA flat mop with a dual-compartment clean/dirty water system, 360-degree rotating head, and straightforward snap-in assembly; useful for homes, offices, and hard floors.View Product →
When you put the head on, do not force it. If it does not click, turn the head 180 degrees and try again. The tab and slot are often keyed to fit only one way. For hook-and-loop flat mops, press the pad onto the base starting from the center and smoothing outward to avoid air pockets.
Common Mistakes and Troubleshooting
Even with the right method, a few mistakes cause most loose mop heads.
- Forcing a threaded head. Cross-threading damages the plastic threads. If the head feels tight after one turn, back it out and start again.
- Missing the alignment notch. Many snap-in heads have a small notch that must match a ridge on the handle. If you ignore it, the head will sit crooked and pop off.
- Not tightening the collar. A push-and-twist collar needs a firm quarter-turn. If it is loose, the head will slide down the handle during use.
- Using the wrong replacement head. Mop heads are not universal. A head made for a spin mop will not fit a flat mop handle, even if the diameter looks close.
- Overtightening a hook-and-loop pad. Pressing too hard can crush the foam backing and reduce grip.
If the head still spins or falls off, check the handle for cracks. A cracked socket will never hold a head securely. In that case, replace the handle or the entire mop.
When to Replace Instead of Reinstall
Reinstalling works when the socket, tab, or collar is intact. But if the plastic is cracked, the threads are stripped, or the hook-and-loop backing has lost its grip, a new mop head is the better fix. Replacement is also wise when the head has become permanently compressed, smells sour, or leaves streaks on the floor. For a maintenance schedule that balances cleaning and hygiene, see our guide on how often to replace flat mop mops. A good rule is to replace a flat mop pad every one to three months in a busy home, and a threaded spin mop head every three to six months. If you clean daily, shorten those intervals.
Maintenance Tips to Keep the Mop Head Secure
A mop head that is installed correctly will stay on longer if you maintain it.
- Rinse and dry the head after each use. Dirt left in the socket acts like sandpaper and wears down the plastic.
- Do not overtighten threaded heads. Snug is enough. Overtightening stretches the threads and makes the head loosen faster.
- Store the mop hanging or upside down. Standing a wet mop on its head can deform the pad and push the socket out of shape.
- Check the connection monthly. A quick twist or press will reveal a loose tab or a worn collar before it fails mid-clean.
- Use the right bucket. A wringer that pulls too hard on the head can loosen the connection. A hands-free washing bucket reduces that strain because you press the mop against a screen instead of twisting it.
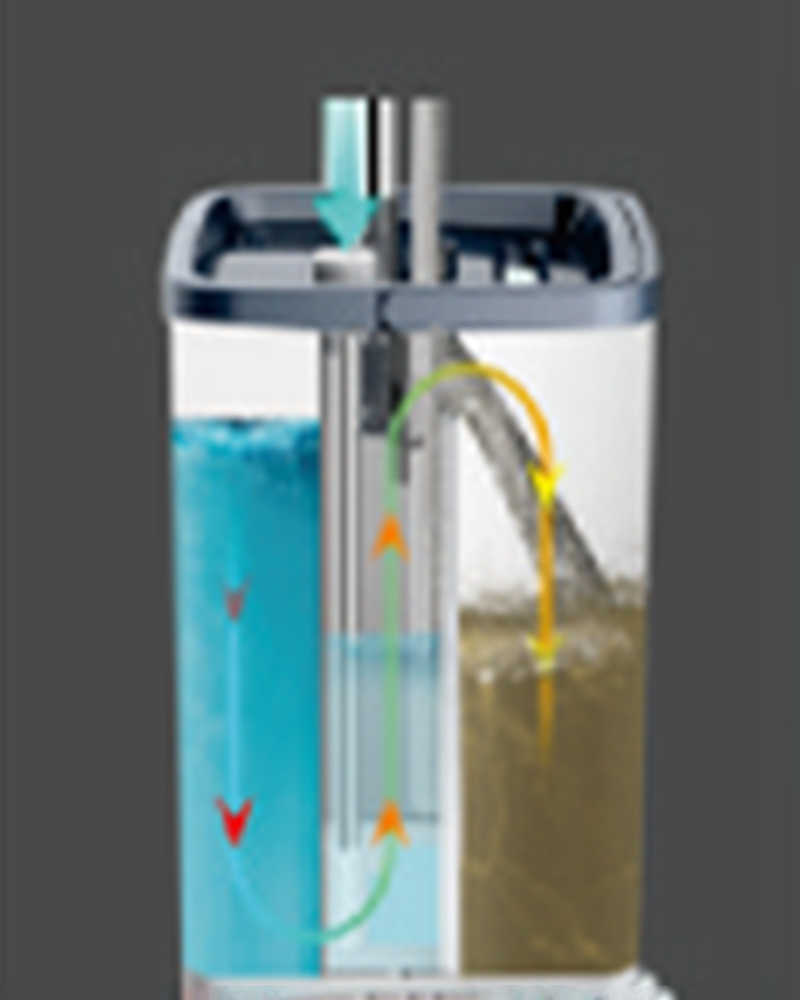 Hands Free Washing Mopx Flat Mop Bucket SetHands-free flat mop and bucket set with 360-degree rotating head, secure head locking, and separate clean/dirty water capacities for wet or dry floor cleaning.View Product →
If you use a bucket with a spinner, make sure the mop head is locked before you spin. Spinning a loose head can send it flying.
Putting a mop head on is a simple job once you match the head to the handle. Look at the connection, clean the socket, align the parts, and lock them with light pressure. Test the fit before you mop. If the head still moves, stop and check for damage. A secure mop head protects your floors and makes the work faster. With the right habit, you can change a mop head in under two minutes and get back to clean floors.