
 English
 Español
 中文简体
中文简体
Content
- 1 Know What Your Vinyl Can Take Before You Wet It
- 2 Gather the Right Tools First
- 3 Step by Step: How to Deep Clean a Vinyl Floor
- 4 Why Clean Water and Dirty Water Should Stay Apart
- 5 Handling Scuffs, Grease, and Sticky Residue
- 6 Rinsing, Drying, and Bringing the Shine Back
- 7 How Often to Deep Clean, and What to Do In Between
- 8 Mistakes That Cause Streaks and Long Term Damage
Picture the strip of vinyl in front of a kitchen sink after a few months of cooking. The color looks gray instead of warm, and a damp cloth only smears the film around. That dull layer is usually cooking grease, tracked-in grit, and dried cleaner residue sitting on top of the wear layer. Plain water will not lift it, and harsh products will damage the floor before they remove the dirt.
The short answer: deep cleaning vinyl means dissolving that film with a mild cleaning solution, loosening it with a microfiber flat mop, rinsing with genuinely clean water, and drying the surface completely. The rest of this guide explains why each of those four steps matters and where most people go wrong.
Know What Your Vinyl Can Take Before You Wet It
Nearly all residential vinyl, whether it is sheet vinyl or luxury vinyl plank and tile, is built the same way. A printed design layer is covered by a clear wear layer. That wear layer is the only thing standing between daily traffic and the pattern underneath, so every deep cleaning decision should protect it.
A few practical rules follow from that construction:
- Steam mops are risky. Heat softens the adhesive under seams and plank edges, and moisture that seeps in can lift them.
- Abrasive powders and scouring pads leave micro scratches that read as dull patches under room light.
- Solvent heavy cleaners and undiluted bleach can haze the wear layer and fade the printed pattern.
- Wax polishes and all in one shine products leave a sticky layer that attracts new dirt and later has to be stripped.
For everyday cleaning, warm water and a damp microfiber mop are enough. For a deep clean, a pH neutral or mildly alkaline cleaner mixed at the dilution printed on the label is the safe working range. If a product is unfamiliar, test it in a closet for a few minutes before using it across the room.
Gather the Right Tools First
Deep cleaning goes faster when everything is within reach and the mop head is never overloaded with water. A workable set looks like this:
- A vacuum or soft dry mop for the first pass.
- A microfiber flat mop with at least two washable pads, one for washing and one for rinsing.
- A bucket that keeps clean water apart from dirty water, or a rinse bucket plus a second bucket.
- A pH neutral or mildly alkaline cleaner, plus a spray bottle for spot work.
- Microfiber cloths for edges, corners, and baseboards, and a dry towel for the final stage.
Microfiber matters more than most people expect. Its fibers grab grease and fine grit instead of pushing them into corners and seam lines, which is exactly where a cheap string mop leaves a gray trail behind.
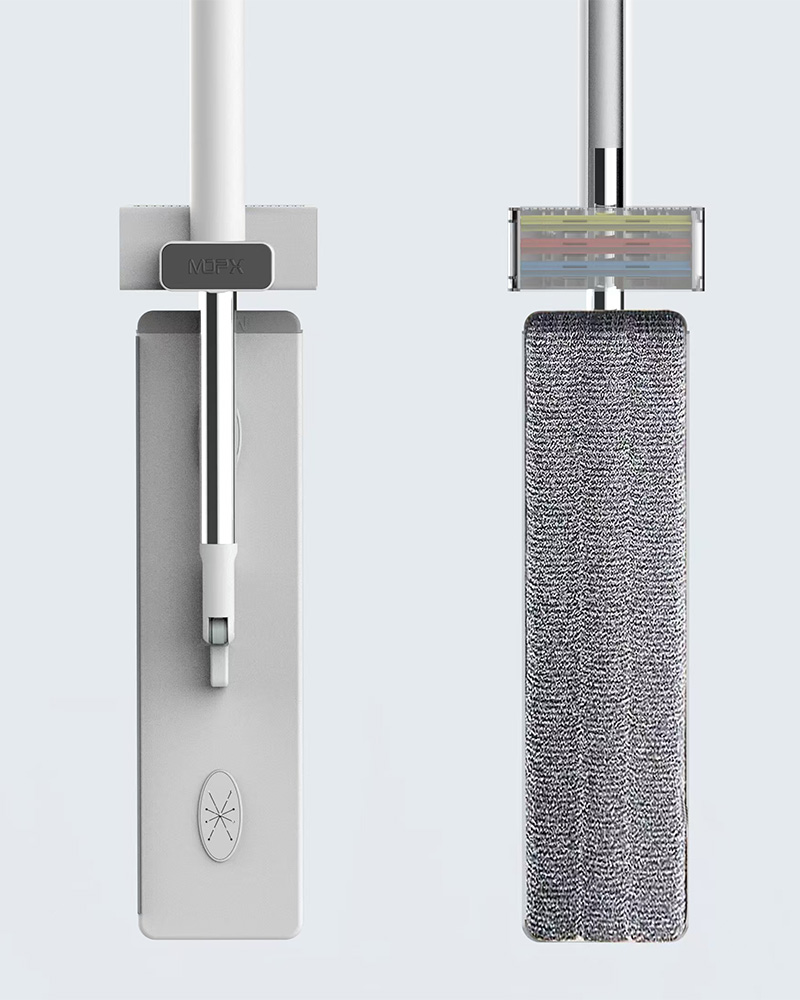
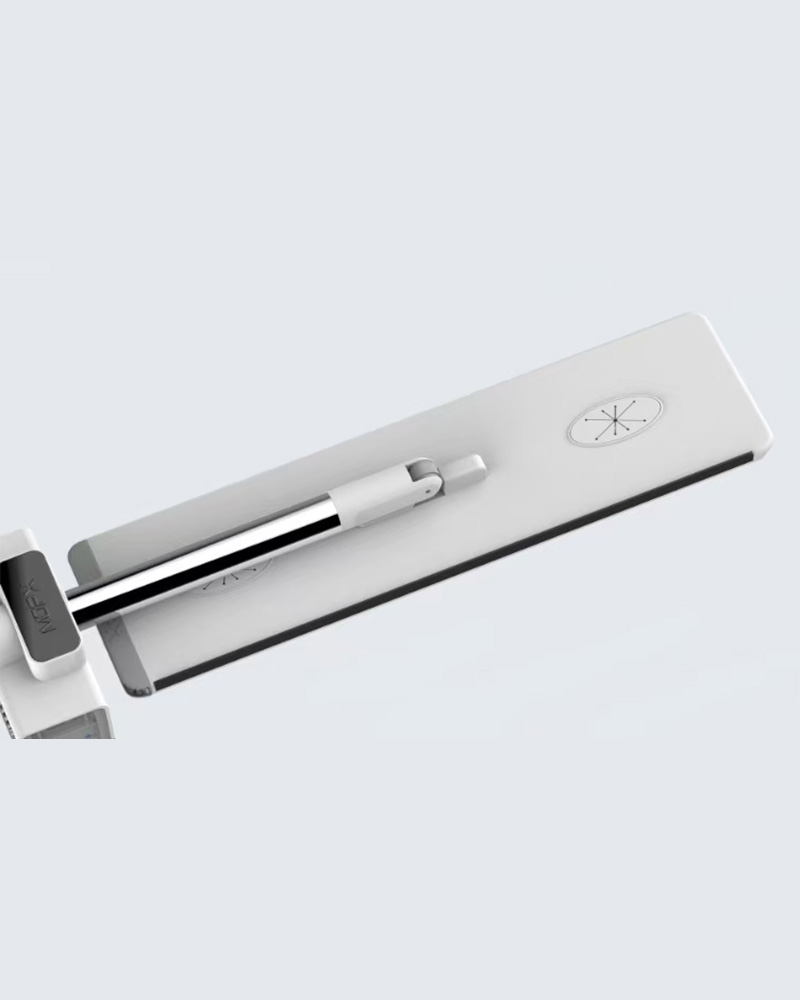 Floor Cleaning Mop Tool Mopx Flat MopDescribe The Floor Cleaning Mop Tool Mopx Flat Mop is a highly efficient and innovative cleaning tool, meticulously engineered to provide exceptional performance in bo...View Product →
Step by Step: How to Deep Clean a Vinyl Floor
- Clear the room and dry mop. Move chairs and rugs, then vacuum or dry mop the whole area. Loose grit becomes an abrasive once it is wet, so removing it first protects the wear layer.
- Mix the solution. Follow the label. More concentrate does not clean better, it only leaves more residue to rinse away.
- Work in small sections. Divide the floor into sections of roughly one and a half meters square and finish one before starting the next. Cleaner that dries on the surface before it is rinsed is the main cause of streaks.
- Wash with the flat mop. Damp, not dripping. Let the microfiber pad do the work with slow overlapping passes instead of pressing hard.
- Give the solution a moment. On greasy areas near a stove or a pet bowl, allow thirty seconds to a minute of contact time before wiping.
- Rinse with clean water. This is the step most people skip. Use a fresh pad or a mop dipped only in clean water and go over the same section again.
- Dry completely. Run a dry microfiber pad over the section and let air move through the room. Vinyl that stays wet near seams is where edge lifting starts.
Why Clean Water and Dirty Water Should Stay Apart
If one change separates a professional result from a mediocre one, it is what happens to the water in the bucket. With a single bucket, every dip puts grease, grit, and cleaner residue back onto the mop and then back onto the floor. The last section you clean ends up the dirtiest, and the thin film left behind is what dries into dull streaks.
Three approaches solve this, and they differ mainly in how much attention they demand:
| Method | Water quality during mopping | Best suited to | Main drawback |
|---|---|---|---|
| Single bucket and string mop | Clean and dirty water mix from the first dip | Quick touch ups on lightly soiled floors | Redeposits grease and dries into streaks |
| Two bucket method | One bucket stays clean, the other collects waste water | Large open rooms | Requires carrying and managing two buckets |
| Flat mop with a rinse and wring station | Rinsing and wringing happen in separated zones | Whole home deep cleaning | Needs a bucket system designed for it |
| Flat mop with built in clean and dirty water separation | Clean water is drawn from one chamber while waste water is stored in another | Floors where the same water must last the whole room | Higher upfront cost than a plain bucket |
For a whole floor deep clean, the separated chamber design keeps the working water clear for the entire room, which means one rinse pass is usually enough instead of three or four. It also removes the physical work of changing water in the middle of the job.
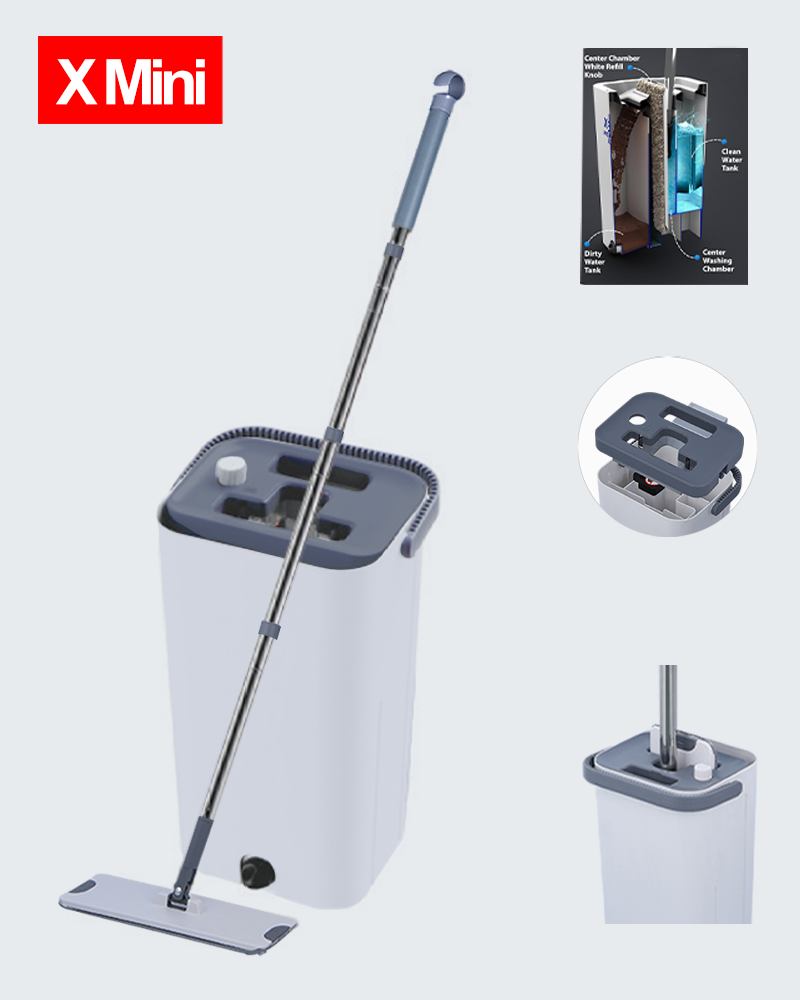
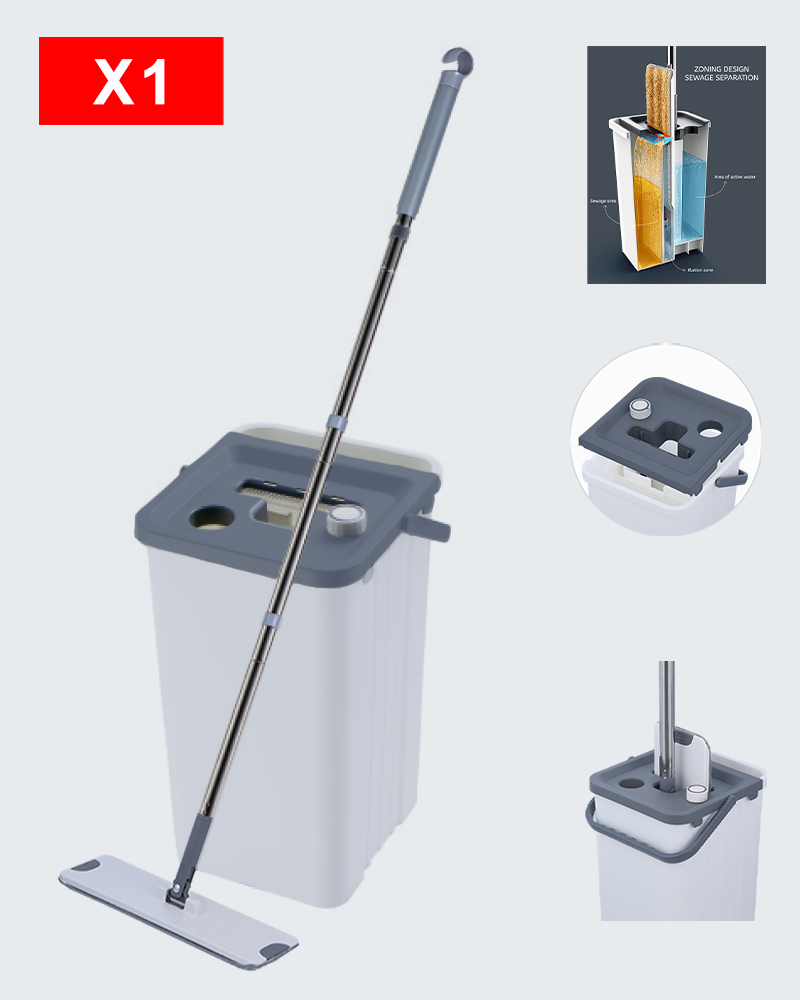
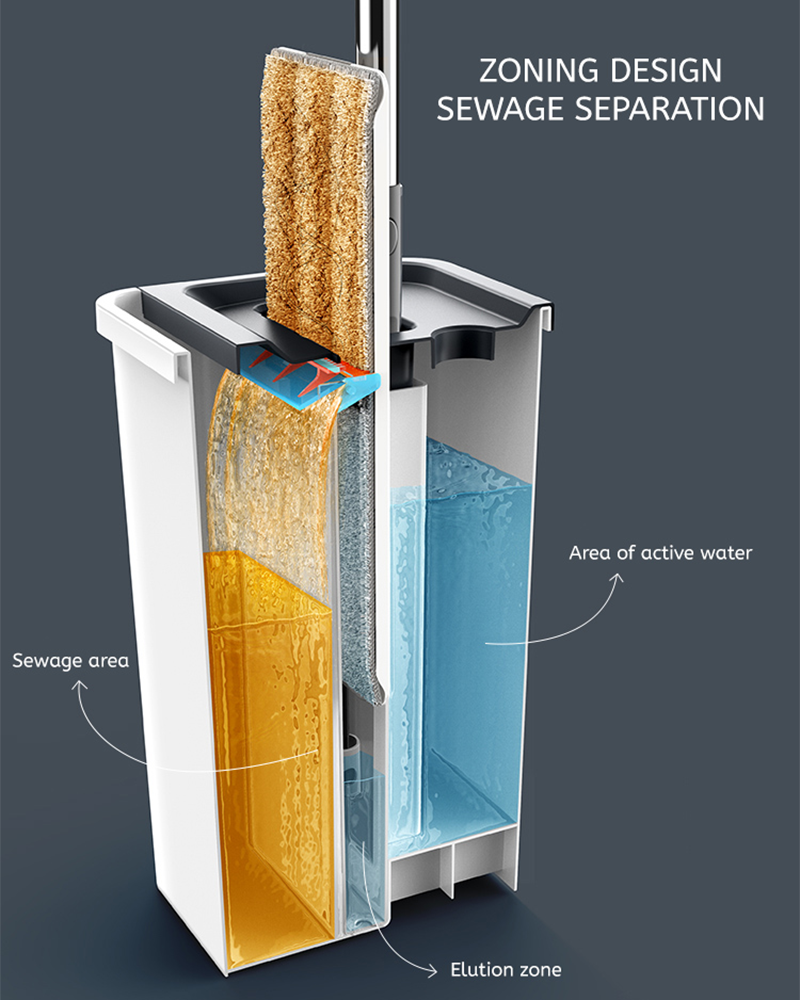 Clean And Dirty Water Separation Mop Bucket SetDescribe The Clean And Dirty Water Separation Mop Bucket Set is a cutting-edge floor cleaning solution designed to ensure maximum cleanliness and hygiene. With its adv...View Product →
Handling Scuffs, Grease, and Sticky Residue
Most stubborn marks on vinyl do not need a stronger cleaner. They need the right technique for the type of soil.
Scuff marks and dark streaks
Rubber soles and furniture feet leave marks that sit on top of the wear layer. A microfiber cloth with a small amount of mild cleaner, rubbed with light circular pressure, removes most of them. Avoid melamine sponges, which work by abrasion.
Grease near the stove or a pet bowl
Grease needs contact time more than strength. Apply the diluted cleaner, leave it for a minute, then wipe with a fresh cloth. Repeating gently twice beats scrubbing once.
Adhesive and dried spills
Soften the residue with a warm damp cloth held in place for a few minutes, then lift it with a plastic scraper held almost flat to the floor. Metal blades and knives leave marks that cannot be polished out.
Rinsing, Drying, and Bringing the Shine Back
A dull vinyl floor is usually not worn out, it is covered in residue. Once the floor has been washed and rinsed, use a clean microfiber pad dampened with plain water for a final pass, then dry it with a second pad. When the surface dries clear with no haze, the floor is clean and the shine you see is the actual wear layer.
If the floor still looks flat after a proper rinse, the cause is usually wear rather than dirt, and a finish made for vinyl is a better answer than more cleaning. Never apply a product intended for wood or stone, and never seal a floor that still has a residue layer underneath.
How Often to Deep Clean, and What to Do In Between
In a typical home, a full deep clean every four to eight weeks is enough, with vacuuming or dry mopping once or twice a week and a damp microfiber pass as needed. Homes with pets, children, or heavy kitchen traffic usually sit at the shorter end of that range.
The tool matters as much as the schedule. A flat mop with washable pads that survive regular laundering keeps the routine hygienic, and knowing how to properly clean and maintain a flat mop after use stops a mop from becoming the source of the smell and streaks it is meant to remove.
Between deep cleans, spread the work instead of saving it up. Two quick passes a week take less time than one heavy session, and the floor never reaches the point where grease has bonded to the surface.
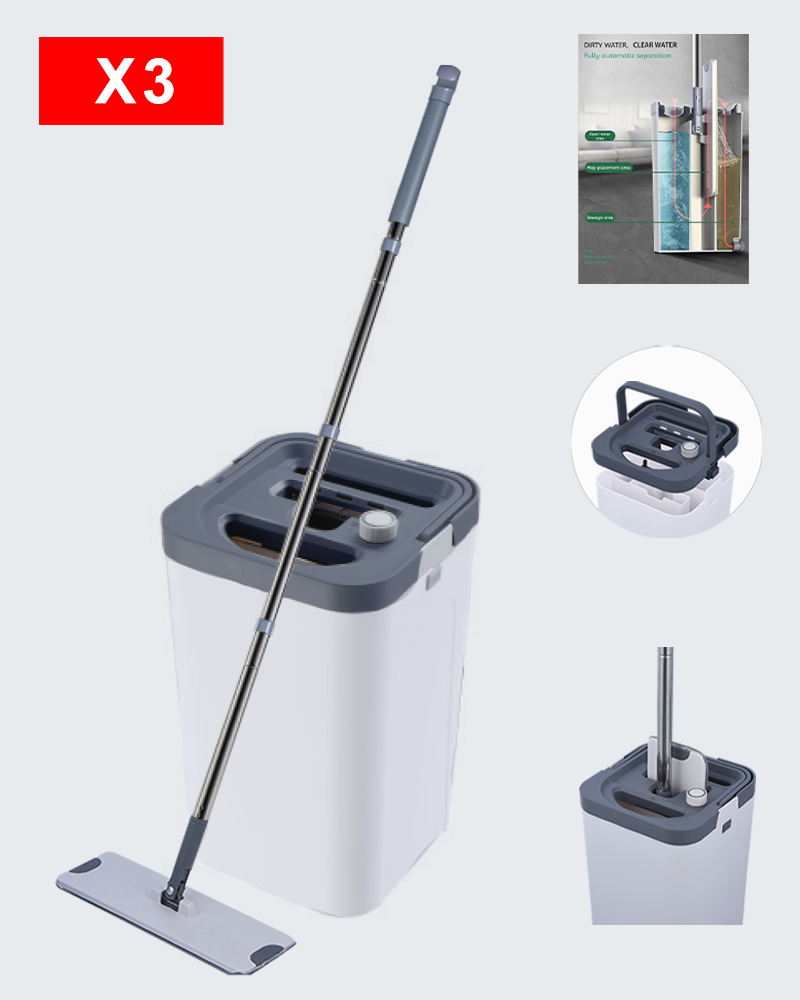
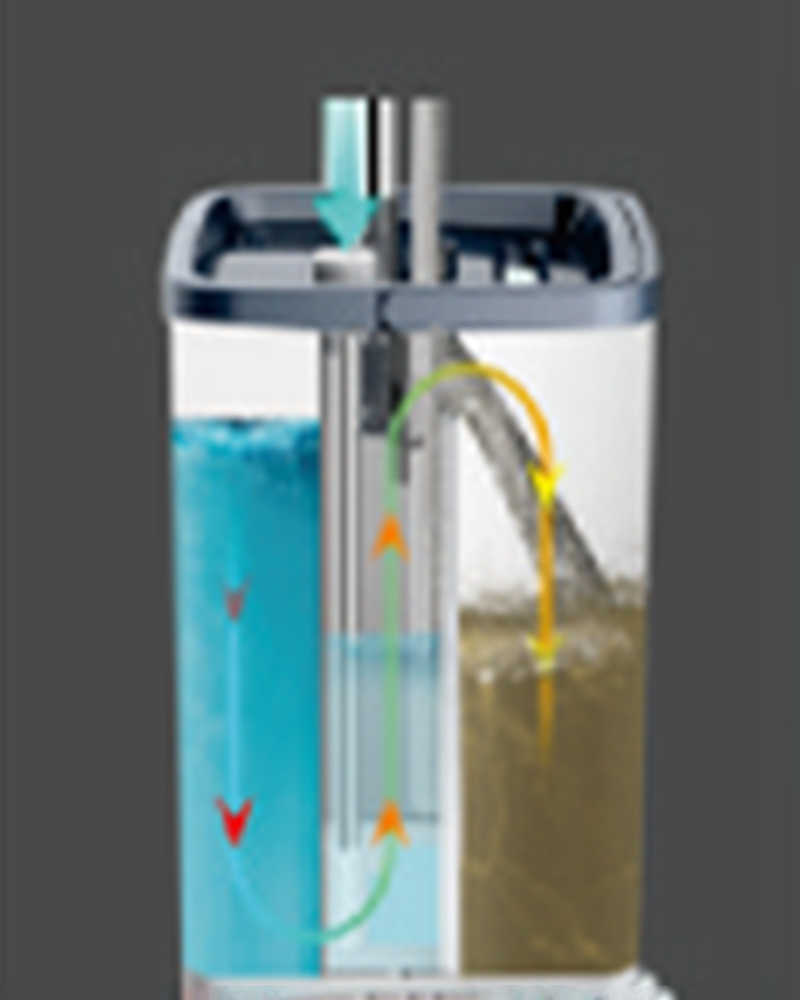 Hands Free Washing Mopx Flat Mop Bucket SetDescribe The Hands Free Washing Mopx Flat Mop Bucket Set offers an innovative cleaning solution designed for convenience and efficiency. This advanced set features a h...View Product →
Mistakes That Cause Streaks and Long Term Damage
- Flooding the floor instead of using a damp mop, which pushes water into seams.
- Skipping the rinse and leaving a cleaner film that traps new dirt.
- Letting solution dry in direct sun before it is rinsed away.
- Using abrasive pads or powders for marks that a damp cloth would remove.
- Storing the mop head wet, which transfers odor and bacteria to the next clean.
Deep cleaning vinyl is mostly a matter of restraint. Use a mild solution, keep clean water separate from dirty water, rinse properly, and dry the floor before anyone walks on it. Done that way, the floor looks refreshed after every session, and the wear layer that protects the pattern underneath stays intact for years instead of being polished away one harsh product at a time.