
 English
 Español
 中文简体
中文简体
Content
- 1 The Short Answer: Floor First, Grout Second, Rinse Last
- 2 Match the Cleaner to the Tile Surface
- 3 Mixing Ratios and the Two Bucket Method
- 4 How to Clean Grout Lines Without Etching Them
- 5 Tools That Reduce Scrubbing Time
- 6 Large Rooms, Small Bathrooms, and Heavy Traffic
- 7 Mistakes That Bring the Grey Back
- 8 A Maintenance Rhythm That Keeps Grout Bright
A hallway of light grey tile with white grout shows every mistake within a week. Flood it with a soaking wet mop and dirty water, and the grout lines shift from white to grey and stay there. Attack them with an abrasive pad, and the glaze scratches long before the stain lifts. The method that actually works is calmer than most people expect: lift dry soil first, match the cleaner to the surface, work the grout with a brush instead of a flood of water, and rinse with water that is still clean when it reaches the floor.
That order matters because tile and grout are two different materials joined together. The tile face is usually a fired surface that resists water and mild acid. The grout between the tiles is a cement based filler full of tiny pores, and it absorbs whatever sits on it. Treat them as one surface and you either leave the grout dirty or damage the tile that protects it.
The Short Answer: Floor First, Grout Second, Rinse Last
If you remember only one sequence, use this one. Dry soil removal comes before any liquid, because wet dust becomes a thin film that dries back onto the tile. Grout agitation comes after the floor is clean, so loosened dirt is not pushed straight back into the lines you just scrubbed. The final rinse comes last and uses clean water, not the grey water already in the bucket.
- Sweep, vacuum, or dry mop the whole floor. Loose grit is what scratches tile and turns into mud the moment water touches it.
- Mix a mild solution of hot water with a small amount of white vinegar or mild dish soap. One gallon of water takes about one quarter cup of vinegar.
- Mop the tile face with a damp, not dripping, microfiber head.
- Scrub the grout lines with a soft bristle brush and a small amount of paste. Work along the line so the bristles reach the recess.
- Rinse with clean water and dry with a towel or a dry microfiber pad. Standing water is what leaves the cloudy film.
Match the Cleaner to the Tile Surface
The most common cause of damaged tile is a cleaner that is too aggressive for the material. Glazed ceramic and porcelain are hard and fired, so a mild acid helps against hard water film. Cement grout and natural stone are porous, so the same acid attacks the surface you are trying to protect.
| Surface | Everyday option | Avoid |
|---|---|---|
| Glazed ceramic tile | Hot water with two or three drops of mild dish soap | Abrasive powders and steel pads |
| Porcelain tile | Same solution, plus a vinegar and water mix for hard water film | Wax based polishes that build a dull layer |
| Marble and travertine | pH neutral stone cleaner only | Vinegar, lemon juice, bleach, and descalers |
| Light grout lines | Baking soda paste, or oxygen bleach for set in stains | Chlorine bleach on colored grout and muriatic acid |
Test any new product on a hidden area first, such as behind the toilet or under the refrigerator, and wait ten minutes before judging the result.
Mixing Ratios and the Two Bucket Method
For routine cleaning, one gallon of hot water with one quarter cup of white vinegar handles most light film on glazed tile. For greasy kitchen floors, replace the vinegar with two or three drops of mild dish soap. Stronger is not better. A mix that leaves your hands slippery usually leaves a residue that attracts new dirt within a day.
The two bucket method matters more than the recipe. One bucket holds the cleaning solution, the second holds rinse water, and the mop head goes into the rinse bucket before it returns to the solution. Without that step you are simply spreading dissolved dirt across the room.
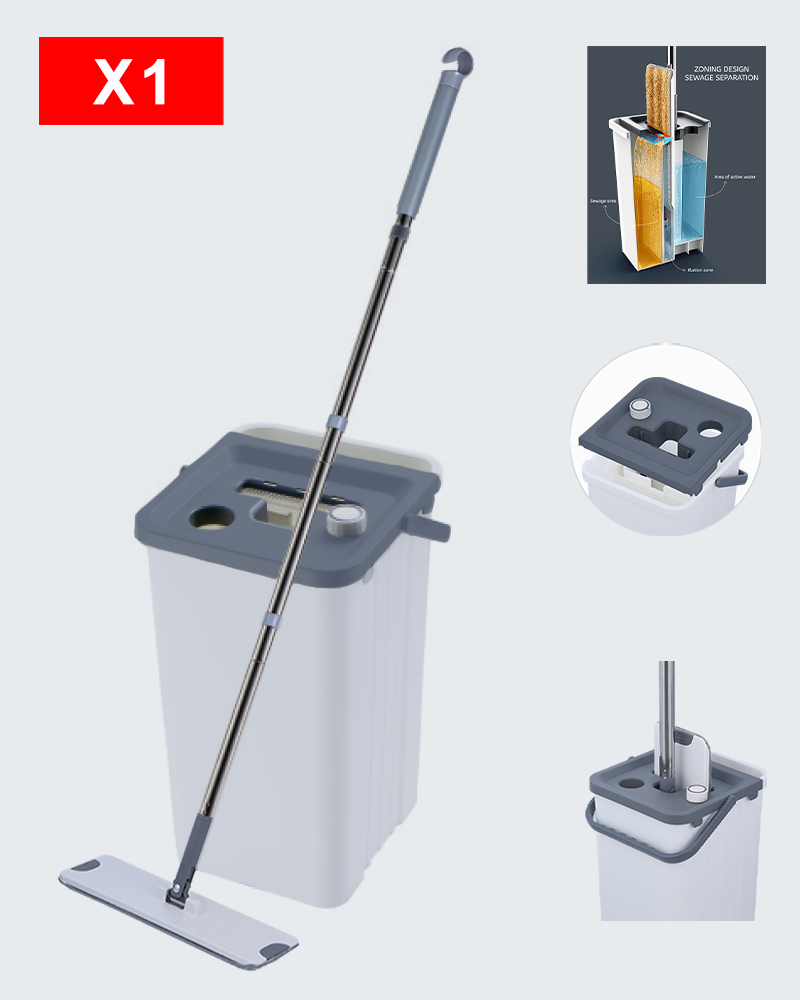
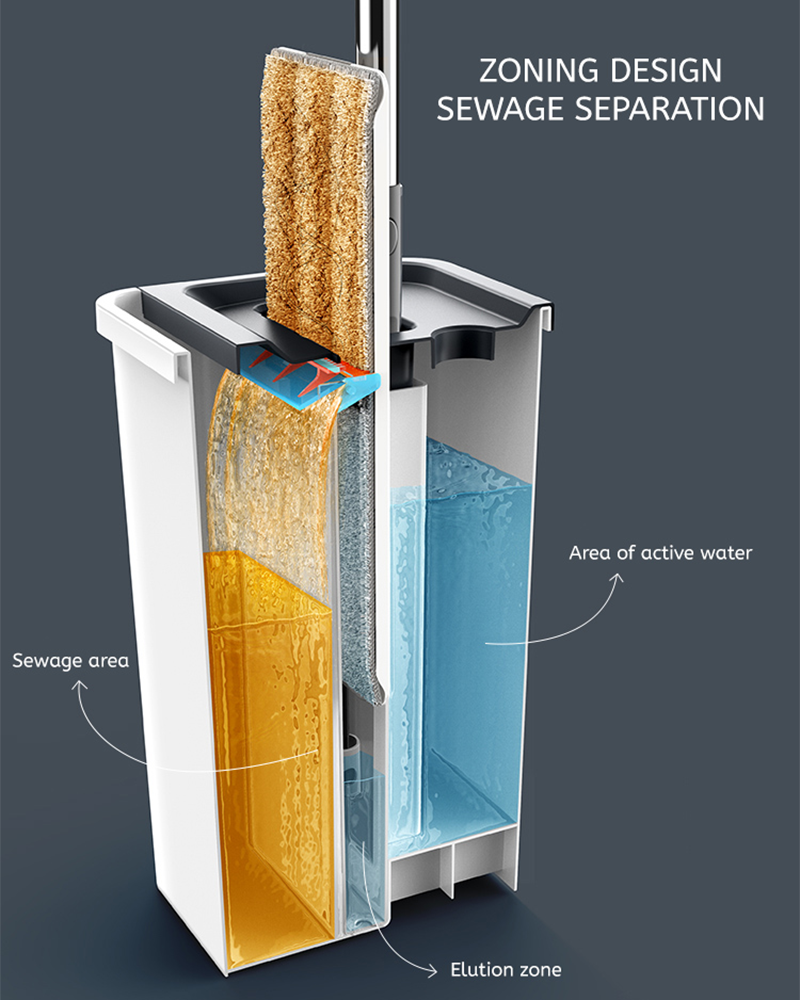 Clean and Dirty Water Separation Flat Mop Bucket SetThis mop bucket set keeps clean and dirty water in separate chambers, so the flat mop rinses with fresh water instead of grey water on each pass.View Product →
A separation bucket pushes the same idea further by holding clean and dirty water in separate chambers, so the mop head is rinsed with fresh water on every pass instead of grey water. On large tile floors that difference shows up in the final rinse.
How to Clean Grout Lines Without Etching Them
Grout responds to dwell time, not to force. Give a mild paste a few minutes to soften the soil, then scrub, then wipe. Scrubbing harder on dry grout only polishes the dirt deeper into the pores.
- Baking soda paste: mix three parts baking soda with one part water until it looks like toothpaste, spread it along the lines, leave it for ten to fifteen minutes, then scrub in small circles with a soft brush.
- Set in stains: dissolve oxygen bleach in warm water according to the label, keep the grout wet for fifteen to twenty minutes, then scrub and rinse.
- Acid warning: muriatic acid and strong descalers etch cement grout and can loosen the joint, so keep them away from tiled floors unless a specialist recommends otherwise.
- Water control: use a spray bottle or a small brush rather than pouring, and blot with a damp cloth instead of flooding the joint.
On unsealed grout, applying a sealer after cleaning keeps future soil on the surface where a brush can reach it.
Tools That Reduce Scrubbing Time
The right tools cut the work in half because they remove soil instead of moving it around.
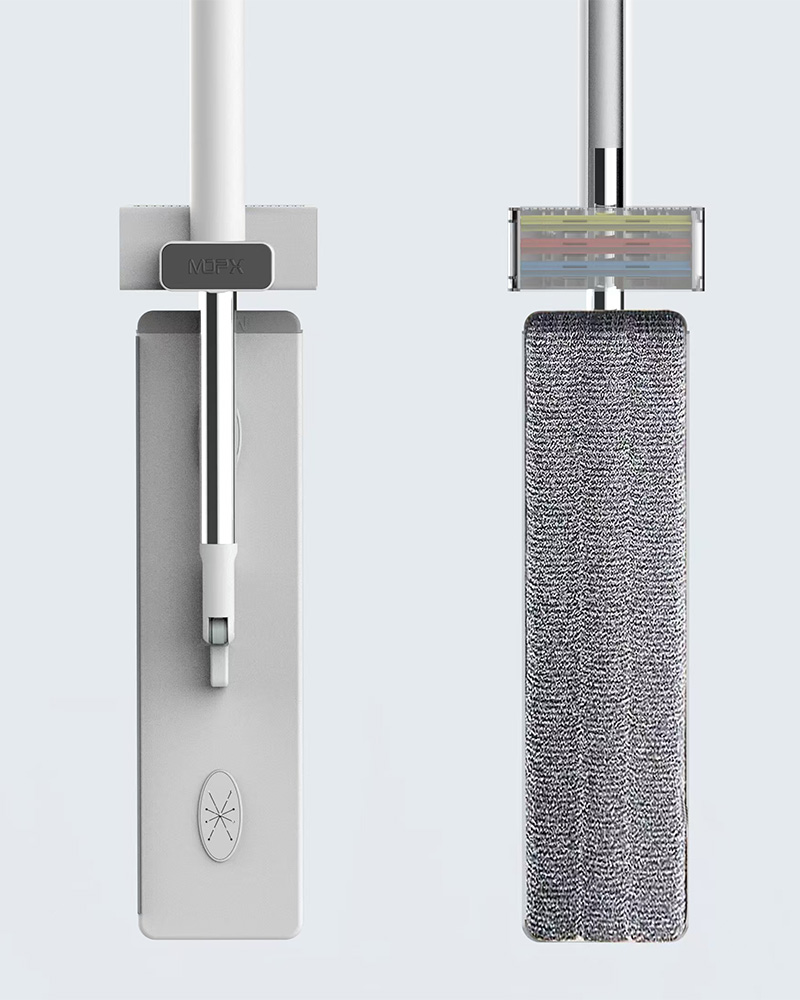
- A flat microfiber mop with a wide head covers more tile per pass and releases dirt into the water rather than into the grout.
- A soft bristle grout brush reaches the recess without scratching the tile edge.
- A squeegee and a dry microfiber pad finish the floor and remove the last streaks.
Keeping the mop itself clean matters just as much, and how to properly clean and maintain a flat mop after use explains how to stop a used mop from redistributing soil on the next wash.
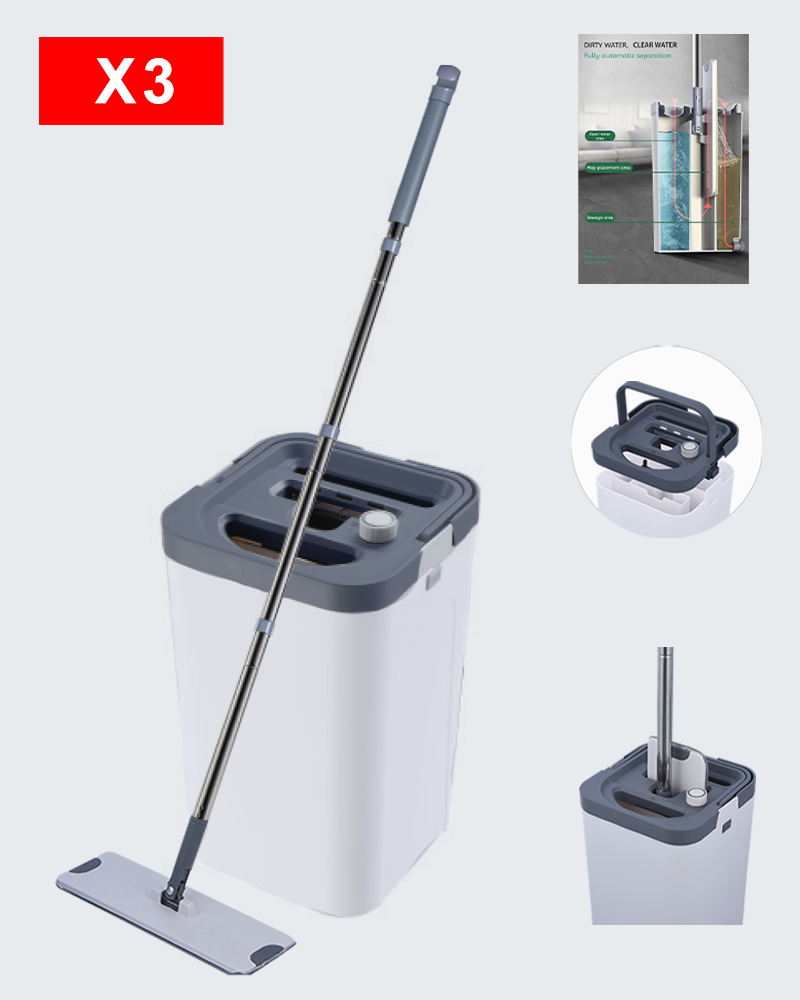
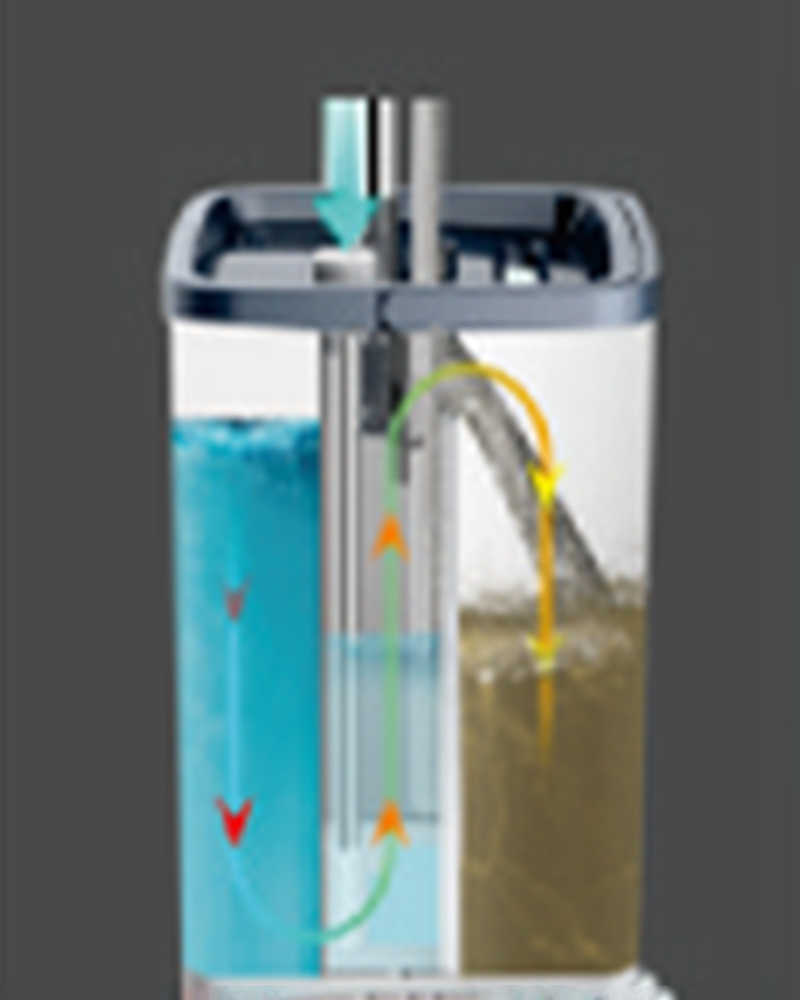 Hands Free Washing Flat Mop Bucket SetA hands-free wringing system keeps your hands away from dirty water while the 360° flat mop head reaches under furniture, corners, and edges.View Product →
A hands free washing bucket removes the wringing step, which keeps hands out of dirty water and keeps the mop head evenly damp instead of soaked.
Large Rooms, Small Bathrooms, and Heavy Traffic
Room size changes the setup more than the cleaning chemistry does. A large open plan floor means many passes with the same water, so capacity and clean water storage matter most. A bathroom, balcony, or small utility area is usually handled faster with a compact kit that stores easily.
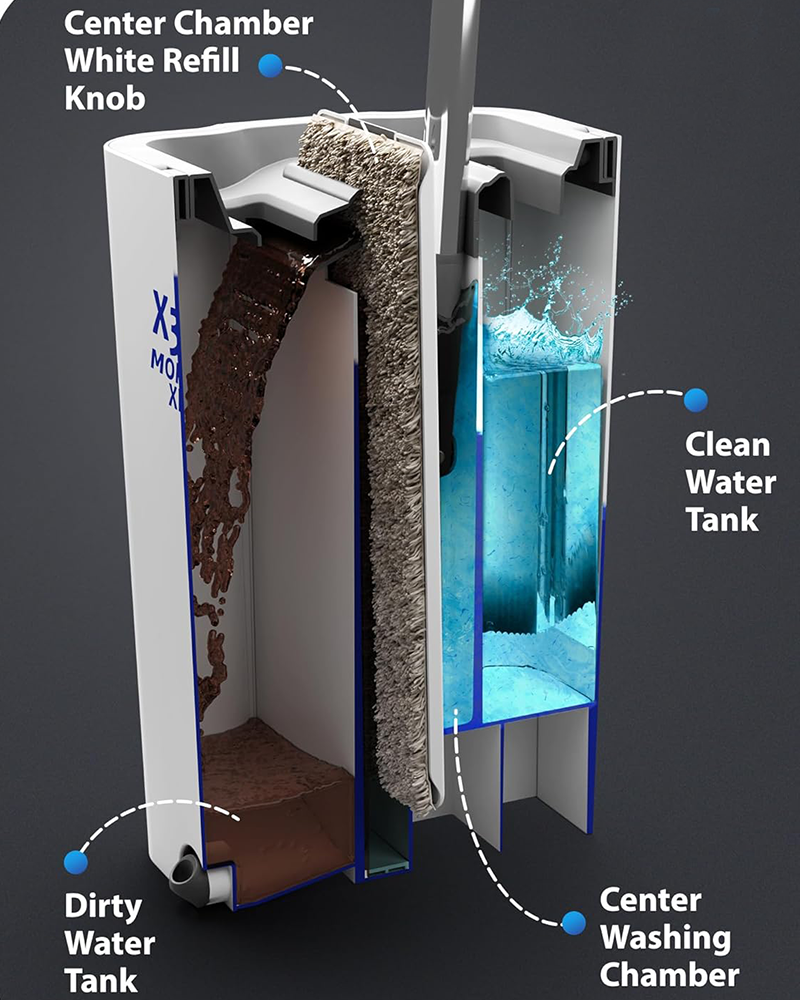 Professional Mopx Big Capacity Flat Mop Bucket SetFor large open floors, this large-capacity bucket reduces refills and separates clean from dirty water, helping maintain effective cleaning over many passes.View Product →
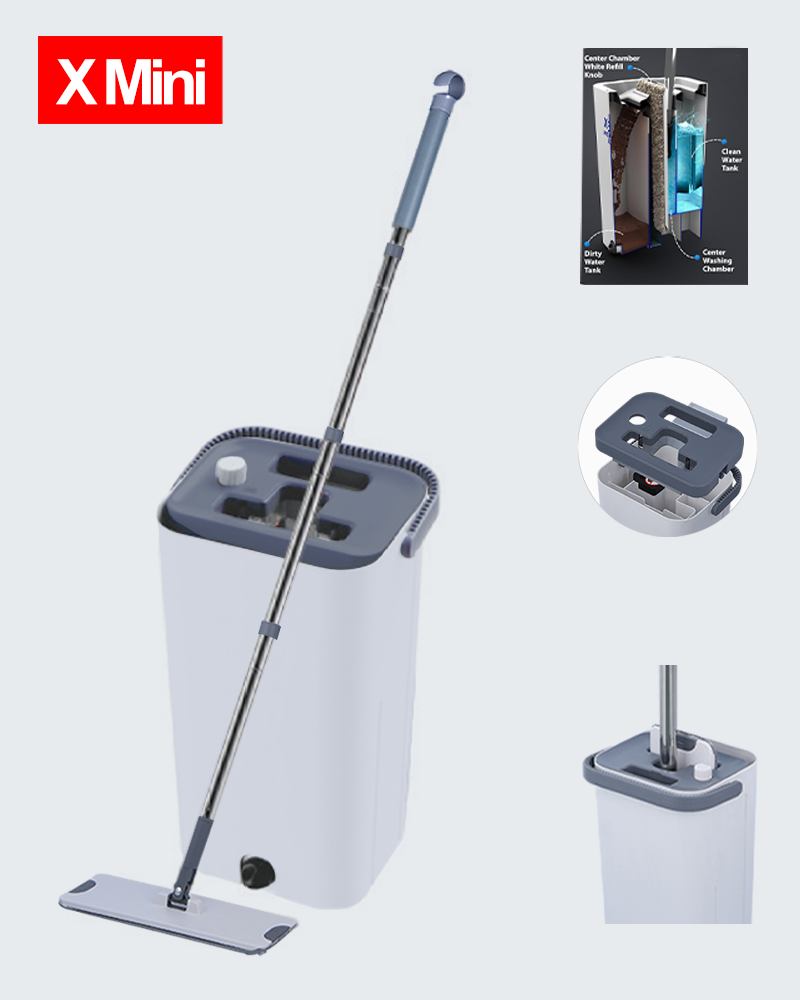
A big capacity bucket keeps the rinse water cleaner for longer in open areas, while a mini wet and dry set suits tight spaces where a full sized bucket is awkward to fill and store.
Mistakes That Bring the Grey Back
- Mopping before sweeping, which turns dust into a paste that settles into the grout.
- Using chlorine bleach on colored grout, which fades pigment permanently.
- Flooding the floor with a soaking mop, which pushes dirty water deeper into the joints.
- Scrubbing glossy tile with abrasive pads, which dulls the surface and makes future dirt harder to remove.
- Skipping the dry step, which leaves a mineral film that looks like dirt within hours.
A Maintenance Rhythm That Keeps Grout Bright
- Every one or two days: dry dust mop the high traffic paths.
- Weekly: damp mop with a mild solution and dry the floor afterward.
- Monthly: scrub the grout lines with a baking soda paste.
- Every six to twelve months: drip water on a grout line and watch how fast it darkens. Fast absorption means the sealer needs refreshing.
- After spills: blot immediately instead of wiping, so the liquid does not spread along the joint.
Tile and grout hold up for decades when the routine stays boring. Remove dry soil, use the mildest cleaner that lifts the stain, agitate the grout with a brush rather than a flood, and finish with a clean rinse and a dry pass. For property teams and buyers sourcing floor cleaning tools in volume, matching the mop and bucket system to the tile surface and the traffic level does more for long term appearance than any single strong chemical.