
 English
 Español
 中文简体
中文简体
Content
- 1 Identify the Mark Before You Touch It
- 2 Four Removal Methods That Cover Most Scuffs
- 3 What Makes a Scuff Worse
- 4 When a Scuff Is Really a Scratch
- 5 The Tool You Mop With Decides How Many Scuffs You Get
- 6 A Floor Routine That Stops Marks Coming Back
- 7 Match the Tool to the Room
- 8 Questions That Come Up Often
A piano moved six inches across a living room floor leaves a gray arc that looks like permanent damage and usually is not. Most scuff marks on hardwood are transferred material: rubber from a heel, lacquer from a chair leg, dried soil pressed into the finish. They sit on top of the surface instead of cutting into it, which is why a soft white eraser lifts more of them than any bottle of cleaner. The exceptions matter. If a fingernail catches in the line, or the wood beneath shows pale and dry, you are looking at a scratch or a gouge, and rubbing harder will only widen it.
The order of work is simple. Identify the mark, try the mildest dry method first, and move to pastes, oils, and color matched fillers only when that fails.
Identify the Mark Before You Touch It
Removal attempts fail for one reason: five different problems get treated as one. Sixty seconds of testing tells you which one you have, and the test costs nothing.
| What you see | Quick test | Safest first step |
|---|---|---|
| Gray or black curved line with no depth | Fingernail glides straight over it | Dry white eraser, worked along the grain |
| Thin light line, most visible at an angle | Fingernail does not catch | Walnut rub or a color matched touch up pen |
| Line that catches, pale wood showing | Fingernail catches in the groove | Wax filler stick, then screen and recoat if widespread |
| Dark blotch with uneven edges | Color sits in the grain rather than on it | pH neutral cleaner, then a wood safe stain remover |
If the mark sits on the finish and your fingernail glides over it, use the removal methods below. If wood fibers are lifted or missing, go straight to repair, because abrasive rubbing turns a thin scratch into a visible dull patch.
Four Removal Methods That Cover Most Scuffs
A plain white eraser
Work on a dry floor. Erase along the grain in short strokes rather than circles, and keep the pressure light enough that the eraser does not squeak. The crumbs you brush away carry the rubber mark with them. A tennis ball pushed onto the end of a broom handle does the same job at standing height, which helps for heel marks near a doorway.
A walnut, or any oily nut
Rub the nut meat along the line for about thirty seconds, then wipe the residue with a dry cloth. The oil darkens the pale line, so this suits finish scratches where color is the problem rather than depth. It does nothing for a gouge.
A baking soda paste
Mix two tablespoons of baking soda with a quarter teaspoon of water to form a thick paste. Rub it into the scuff with a cloth or a fingertip, wipe with a damp cloth, then dry the spot. The paste is mildly abrasive, so keep it on the mark itself and stop as soon as the line fades.
Olive oil and vinegar
Equal parts olive oil and white vinegar, applied to the mark, left for a few minutes, then buffed with a dry cloth. This works well on light drag marks, but it carries two risks. Vinegar is acidic, and on waxed, oiled, or older lacquer finishes it can dull the sheen unevenly. Oil left on the surface attracts dust and can darken an open scratch. Test in a closet corner first, and wipe thoroughly afterwards.
What Makes a Scuff Worse
- Melamine sponges. They clean by removing a thin layer of finish, so the first pass looks excellent and the tenth leaves a dull patch.
- Steel wool, sandpaper, or scouring pads on a single mark.
- Ammonia based cleaners on waxed floors, which strip the wax in streaks.
- Damp mopping with dirty water, or leaving a wet mop head standing on the boards.
- Sliding furniture across a dry floor because it is only a few inches.
- Gel toothpaste. Only the plain white paste type contains the mild abrasive people are actually recommending.
When a Scuff Is Really a Scratch
A color matched touch up pen handles light surface scratches and dries in seconds, though the result is often visible at an angle. A wax filler stick pressed into a deeper scratch hides it well until the wax wears out, usually within a year on a hallway floor. If a whole room has gone dull from years of scuffing, screen and recoat, a light abrasion followed by a fresh coat of finish without sanding to bare wood, restores the sheen for a fraction of a full refinish. Reserve full sanding for boards that are cupping, gapping, or gray from dried out wood.
The Tool You Mop With Decides How Many Scuffs You Get
Look at where the marks appear. If they cluster along walking routes rather than around furniture, the furniture is not the problem. Grit dragged across a floor by a broom or a mop acts like sandpaper, and a wet mop rinsed in dirty water leaves a thin film that traps more grit.
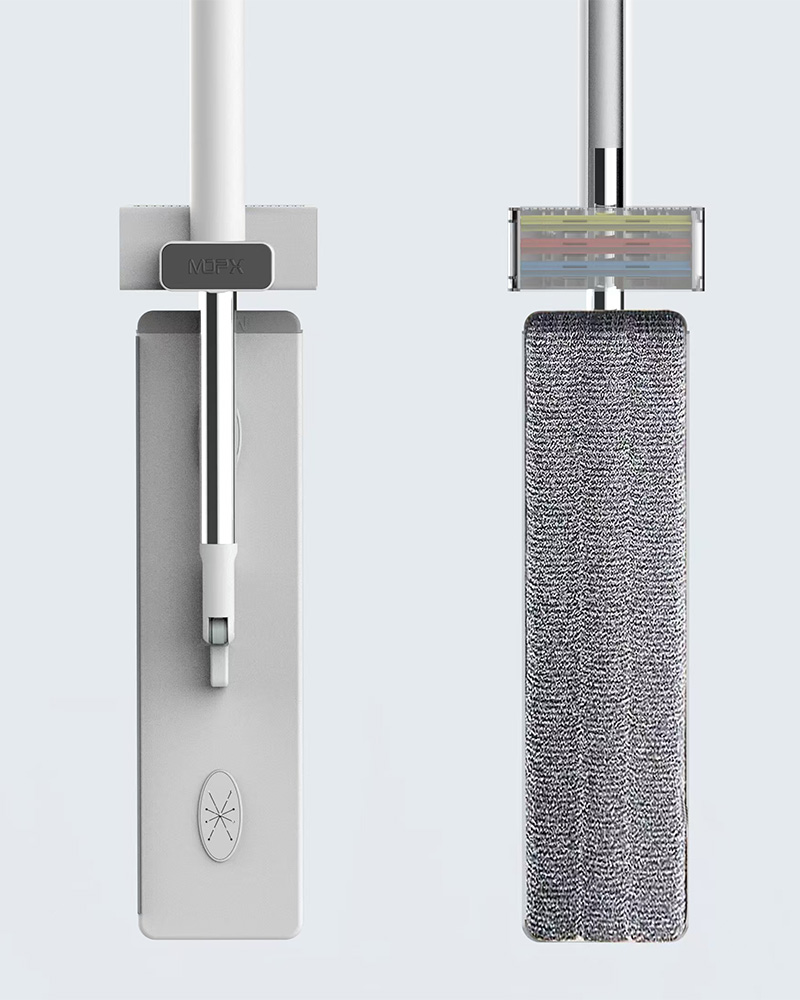
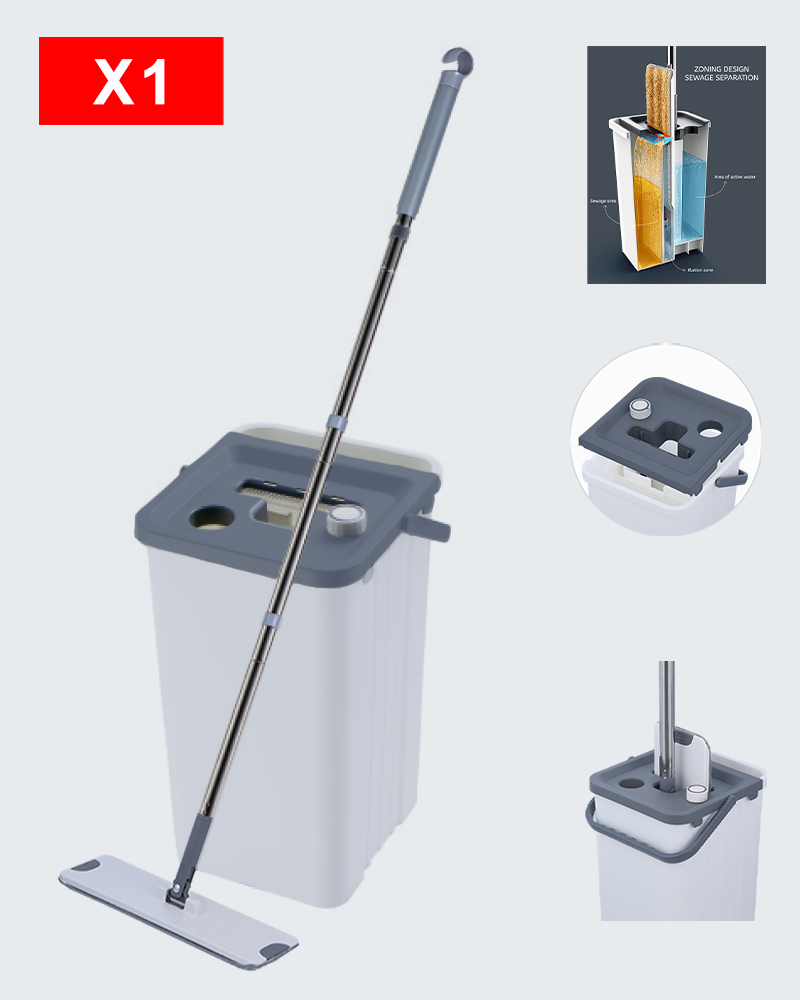
A flat mop with a microfiber pad lifts loose soil instead of pushing it into the grain, and the bucket matters as much as the mop. A clean and dirty water separation bucket keeps rinse water apart from the water you are picking up, so the pad never reloads with the soil you just removed.
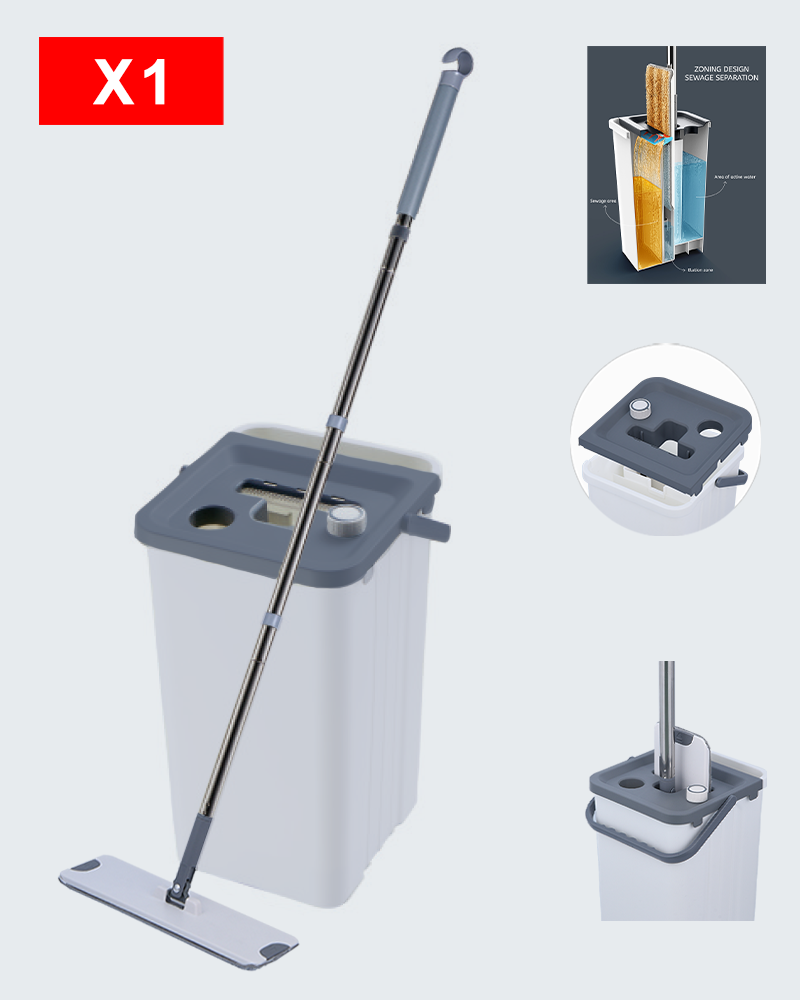 Clean and Dirty Water Separation Mop Bucket SetPairs a flat microfiber mop with separate clean and dirty water compartments, so rinse water stays apart from soiled water while mopping.View Product →
One habit matters more than the tool: rinse and dry the mop pad after every use. A damp pad left in a bucket stops absorbing soil the next time you reach for it. The steps for that are set out in this guide on cleaning and maintaining a flat mop after use.
A Floor Routine That Stops Marks Coming Back
- Dust with a microfiber dry pad or a vacuum on a hard floor setting. A stiff broom skips fine grit.
- Damp mop with a flat mop, working from the far corner toward the door, and rinse the pad as it loads up.
- Keep mop water clean. Two buckets, or one separation bucket, never a single bucket used all the way through a room.
- Dry the floor. Standing water dulls finish and swells seams.
- Fit felt pads under every furniture leg and check them twice a year. Flattened pads collect grit and turn into cutting tools.
- Use entry mats, ideally two in a row, so grit comes off shoes before it reaches the boards.
- Lift anything heavier than a dining chair. Sliding a piano six inches is exactly how the arc in the first paragraph was made.
Match the Tool to the Room
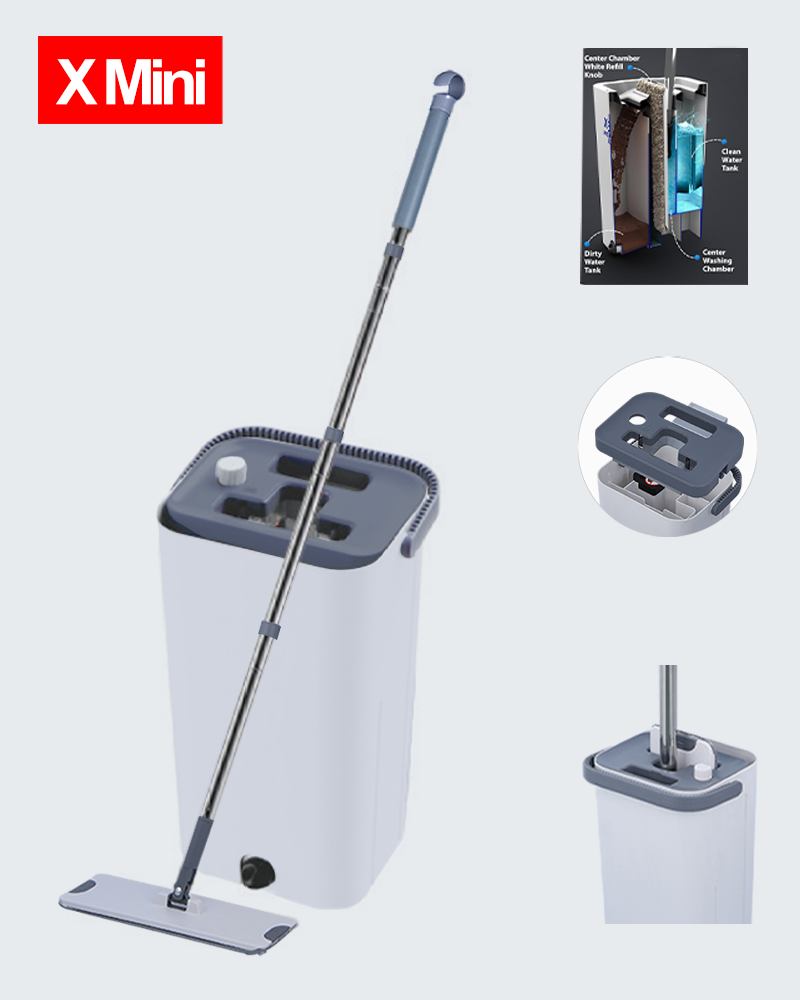
In a small bathroom or a narrow hallway, a full size bucket is more work than the job needs. A compact wet and dry set handles a damp pass and a dry dust pass in the same trip, which means the floor gets cleaned on the days you have two minutes rather than the days you have twenty.
 Wet and Dry Use Mopx Mini Flat Mop Bucket SetCompact mini flat mop and bucket set for wet or dry cleaning, with separated clean and dirty water for tighter spaces.View Product →
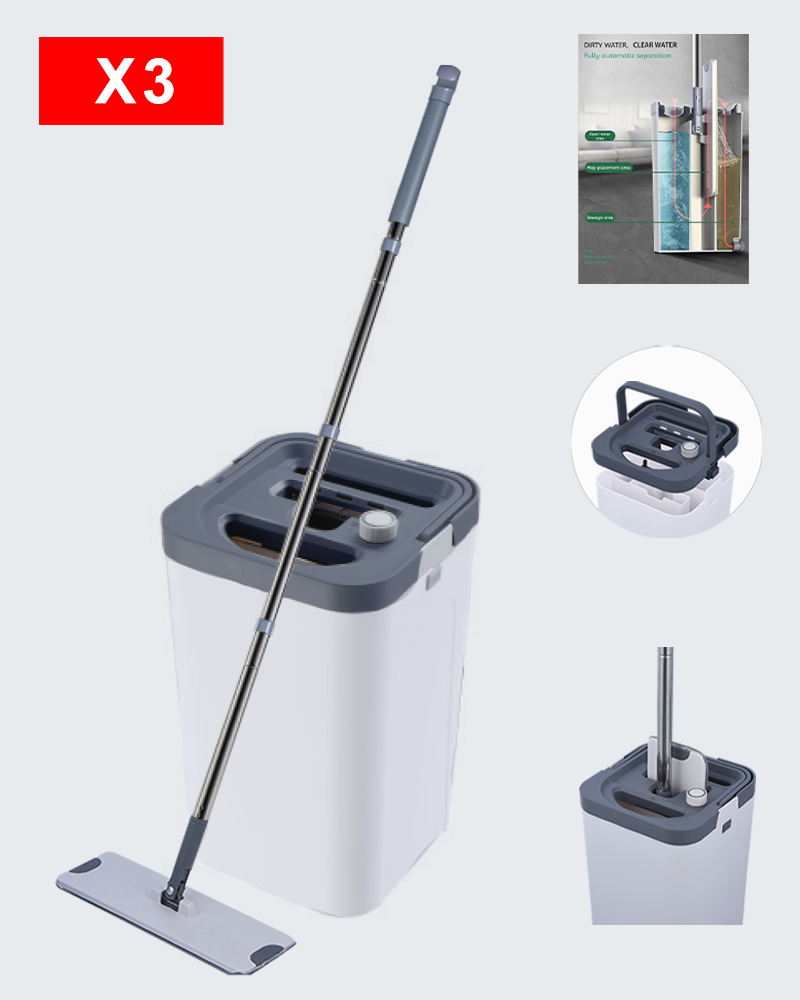
For open plan living areas and kitchens, capacity decides how often you stop. Nobody wants to change water three times in one room, so choose a bucket sized to the area you actually mop without refilling. If wringing a mop by hand is the step that stops you cleaning weekly, a hands free design moves the rinse and the squeeze into the bucket instead of your back.
 Hands Free Washing Mopx Flat Mop Bucket SetHands-free wringing flat mop set with 4 L clean and dirty water tanks, suited to larger open-plan mopping without manual squeezing.View Product →
Either way, the wet floor gets the same treatment: a clean pad, clean water, and a dry finish within a minute or two.
Questions That Come Up Often
Can I use a melamine sponge instead of an eraser?
You can, once. Melamine sponges work by removing a thin layer of finish, so a single pass on a stubborn mark is usually harmless while repeated use leaves a dull patch that shows under raking light. A white eraser does the same job without cutting the finish.
Will vinegar damage the finish?
On modern factory finished floors, a quick wipe is low risk. On waxed, oiled, or older lacquer floors, the acid can dull the sheen unevenly, which is why the closet corner test is worth two minutes of your time.
How do I get black heel marks off quickly?
Erase them dry. A white eraser, or a tennis ball on a broom handle, removes heel marks in seconds, and it works best on the same day the mark appears, before grit gets pressed into the rubber.
Most scuff marks are a cleaning problem, not a flooring problem. Start with a dry eraser, step up to a paste or an oil only if that fails, and treat anything your fingernail catches as a repair rather than a cleaning job. Then change how you mop, because the same grit that made the first mark will make the next one.