
 English
 Español
 中文简体
中文简体
Content
The best way to clean LVT floors is a sequence, not a single product: lift the dry grit often, damp mop weekly with a pH-neutral cleaner on a well-wrung microfiber pad, and keep steam, abrasives, and wax away from the wear layer. Luxury vinyl plank and tile hide a waterproof core beneath a printed decor film, and that film is protected by a wear layer measured in fractions of a millimeter. Busy kitchens rarely fail because the vinyl itself is weak. They fail because walked-in grit acts like sandpaper and harsh cleaners slowly dull the surface. Follow the sequence below and the floor keeps its factory finish for a decade or more. Break the rules and you will see haze, micro scratches, and lifting seams within a few years.
Why LVT Needs Different Rules Than Other Hard Floors
LVT is water resistant, but the protection lives in a thin top coat, typically a wear layer between 6 and 20 mil on residential products. Three properties decide what you may use on it. First, the finish scratches, so anything abrasive, from scouring powder to stiff scrub pads, leaves permanent marks that trap dirt later. Second, the material softens with heat, which is why steam mops are excluded from most flooring warranties: repeated hot moisture can stress seams and cause edges to lift. Third, the surface is not porous, so wax and oil-based polishes never bond; they sit on top, collect scuffs, and turn dull or yellow. None of this makes LVT fragile. It simply means the routine should be gentle, low-moisture, and pH neutral.
The Routine That Works, Step by Step
Step 1: Remove Dry Soil Before It Scratches
Dry removal is the step most homes skip, and it is the one that protects the finish most. Run a dust mop, a soft broom, or a vacuum with the beater bar switched off two or three times a week, and daily in entry areas. Grit that sits on the floor gets ground into the wear layer by every footstep, so a thirty-second sweep prevents damage that no cleaner can reverse.
Step 2: Damp Mop Weekly With Minimal Water
Once a week, mop with warm water and a pH-neutral floor cleaner made for vinyl. Wet the pad lightly, wring it until it is damp rather than dripping, and work in the direction of the planks so any streaks disappear into the pattern. Rinse the pad often, because a pad loaded with soil smears grit across the floor instead of lifting it. The pad itself matters as much as the solution, because the choice of fiber material directly affects how well a flat mop picks up soil and releases it again when rinsed.
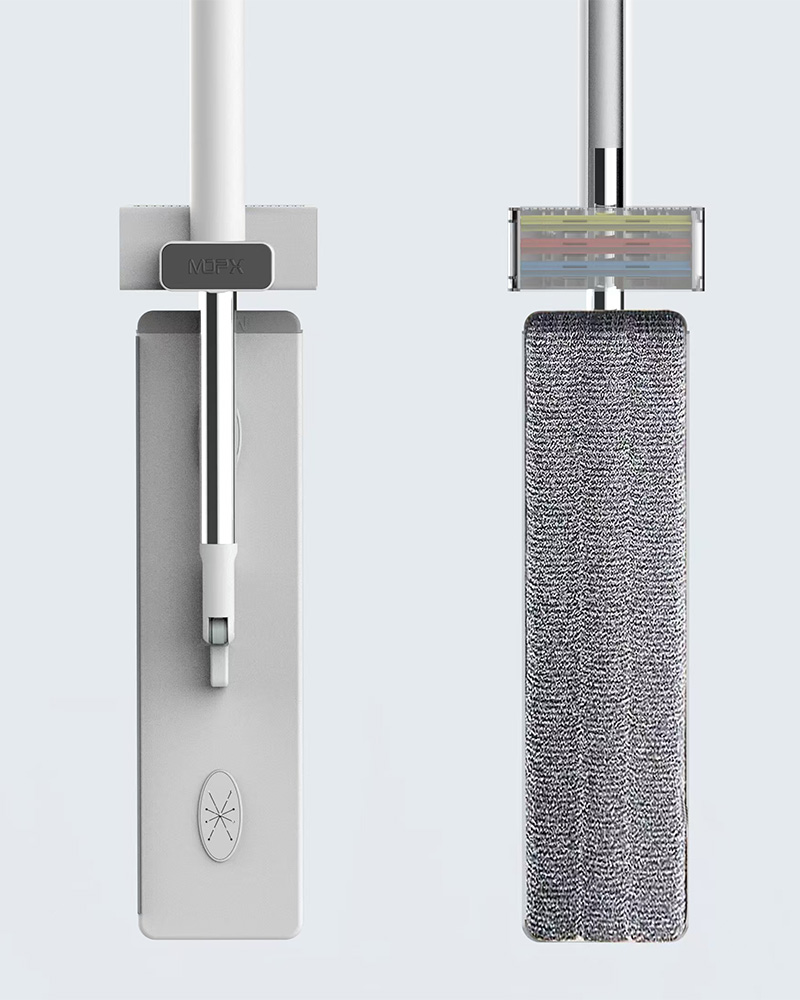
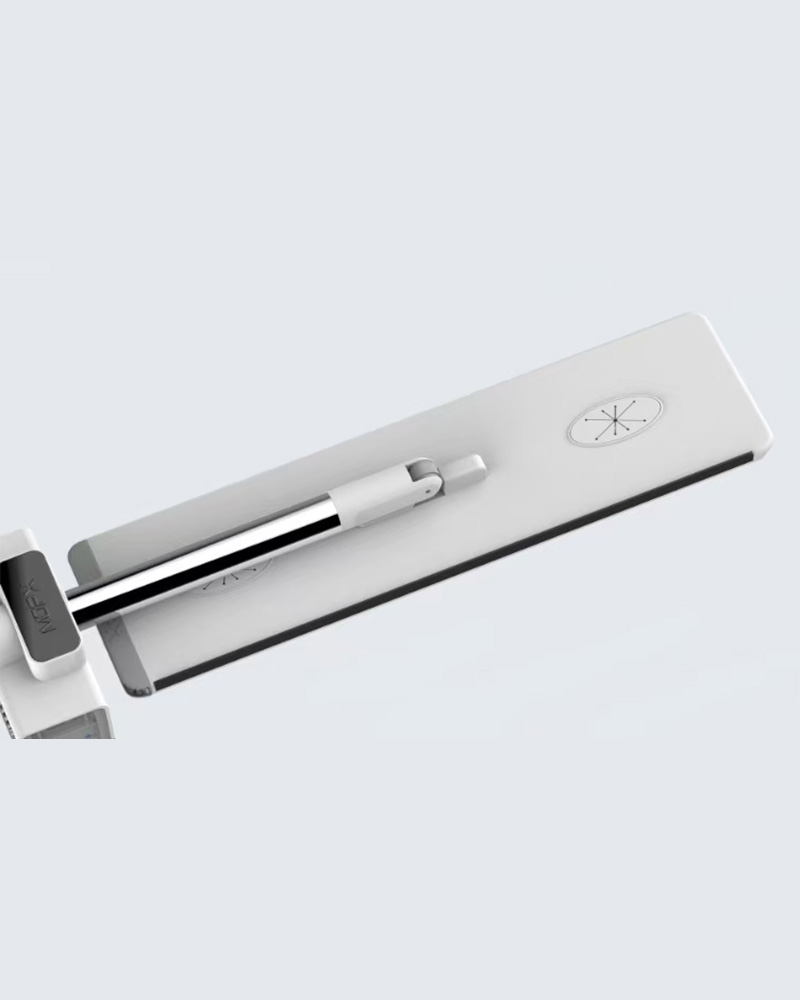 Mopx Flat Mop for Vinyl Floor CleaningWith a 360° rotating head and microfiber pad, this flat mop suits the weekly damp-mopping routine for LVT, gliding along planks and into corners without pooling water at the seams.View Product →
Step 3: Deal With Spills and Scuffs Immediately
Blot spills right away with a soft cloth, then wipe the spot with a damp microfiber cloth and dry it. For scuff marks, crayon, or shoe polish, a cloth dampened with a little rubbing alcohol works without dulling the finish. Never let liquid pool along a seam, because the planks resist water but the joints between them are the vulnerable point.
What to Keep Away From LVT
The list of things that damage vinyl is short but strict, and most of the harm is cumulative, showing up months after the habit starts. Steam tops the list, followed by abrasive tools and film-forming polishes. The table below is the quick version worth saving.
| Method | Verdict | Why it matters |
|---|---|---|
| Microfiber flat mop with pH-neutral cleaner | Use weekly | Lifts soil and film without scratching or dulling the finish |
| Vacuum on hard-floor setting, beater bar off | Use often | Removes grit safely; rotating brushes can mark the surface |
| Steam mop | Skip | Heat and forced moisture stress seams and often void warranties |
| Scouring powder, scrub pads, steel wool | Skip | Leave permanent micro scratches that trap dirt |
| Wax or oil-based polish | Skip | Forms a film that yellows and is hard to strip from vinyl |
| Ammonia or bleach cleaners | Skip | Discolor and soften the finish with repeated use |
Why the Mop and Bucket Setup Matters as Much as the Cleaner
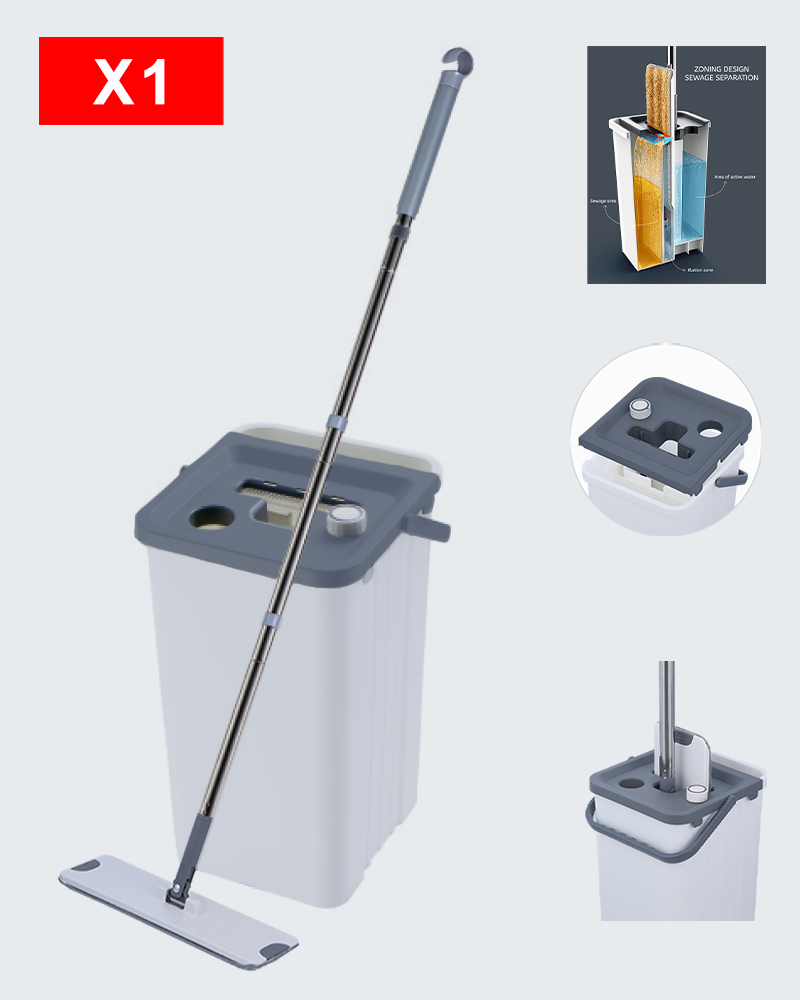
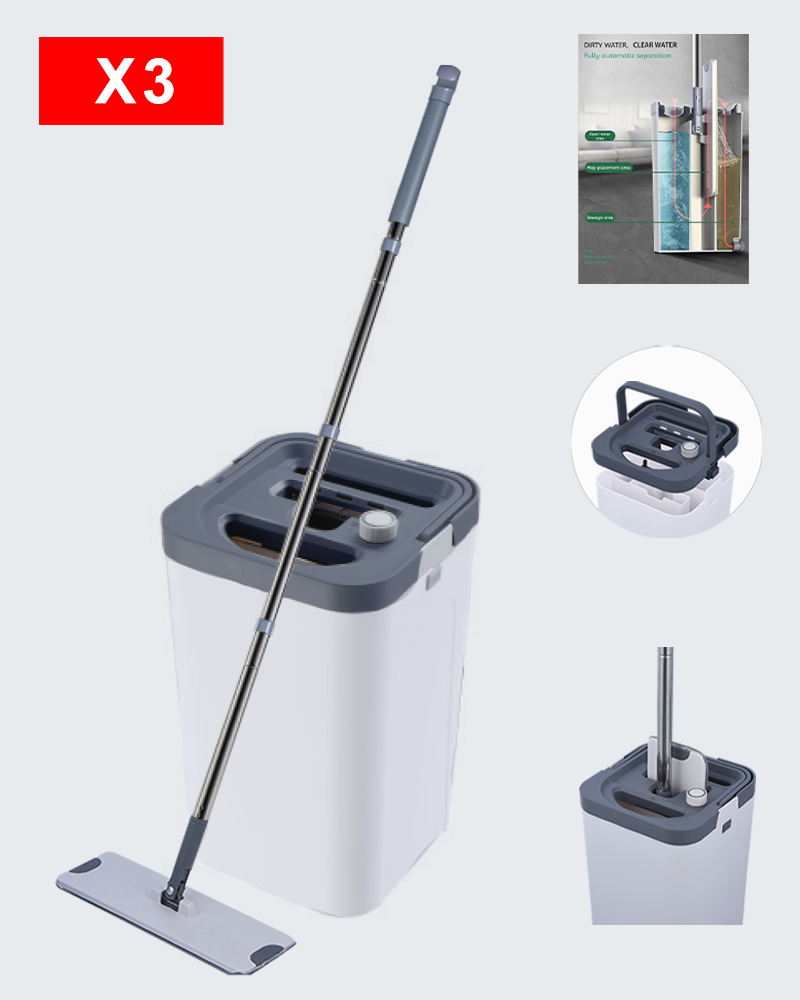
Here is the part most cleaning guides miss: on LVT, dirty mop water is a bigger enemy than the dirt itself. A traditional string mop and a single bucket send the pad back to the floor carrying the same soil you just removed, which is what leaves the dull film people blame on the cleaner. The fix is structural, not chemical. A bucket that separates clean and dirty water lets you rinse the pad in clean water and squeeze the waste into its own chamber, and a hands-free wringer lets you control dampness precisely, which matters because LVT wants a damp pass, not a wet one. That is exactly the problem a dual-compartment design solves, and it is worth reading how a dual-compartment system prevents cross-contamination and improves cleaning efficiency in practice.
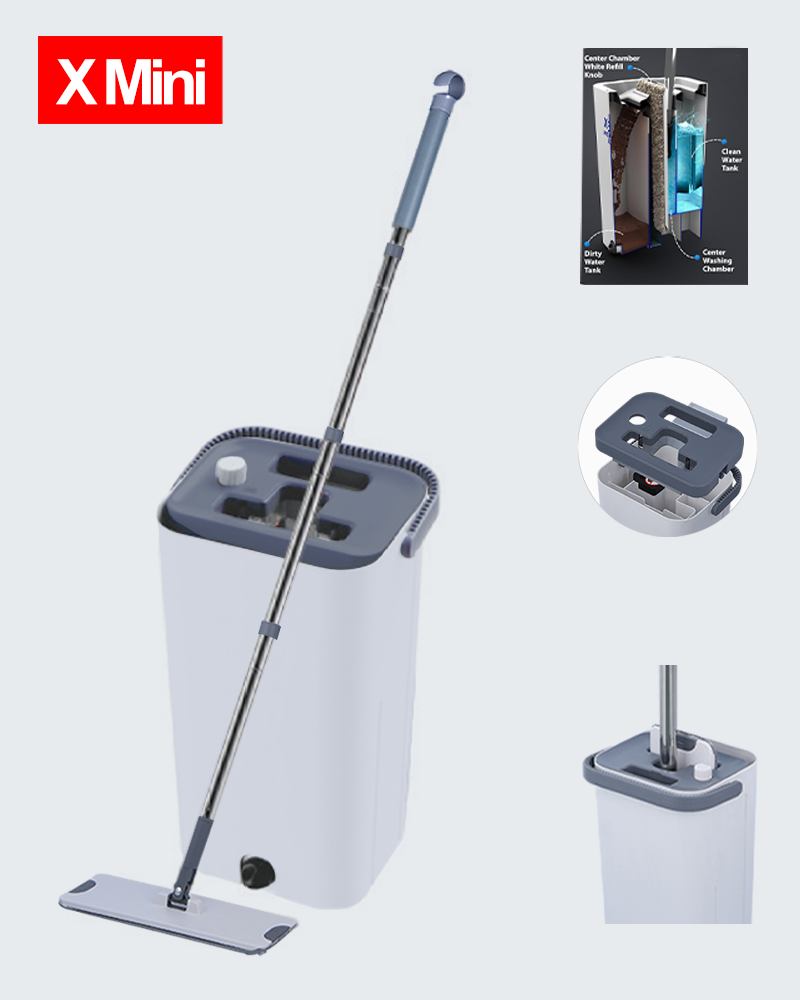
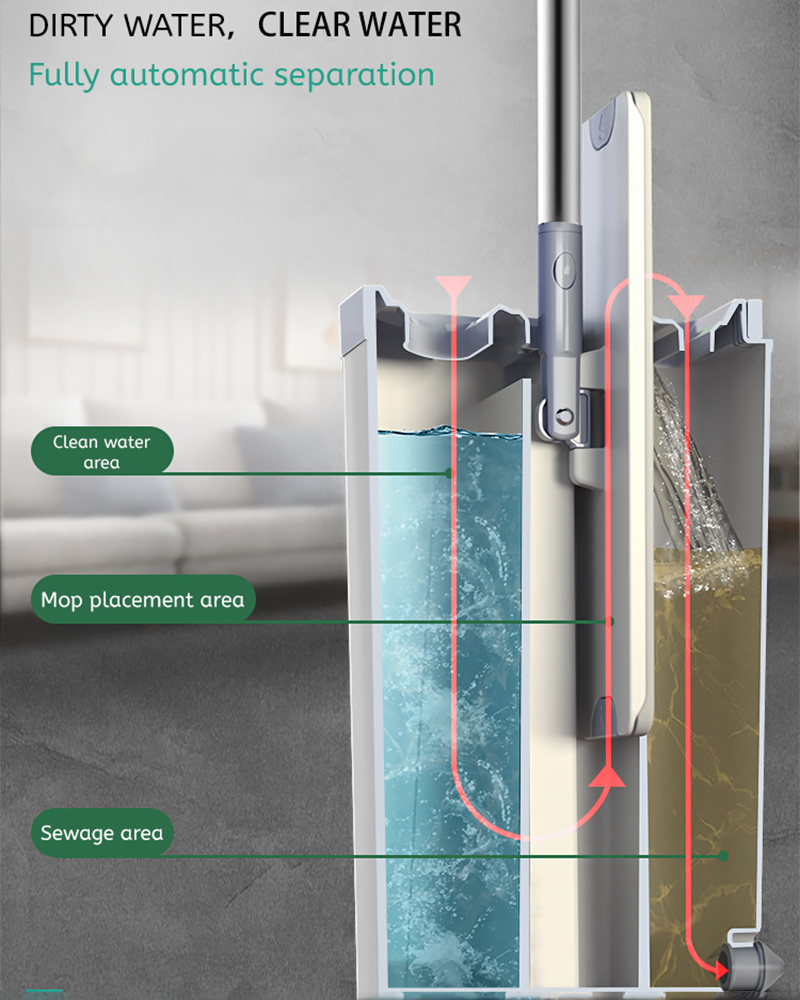 Mopx3 Cleaning Separation Flat Mop Bucket SetIts multi-compartment bucket rinses the pad in clean water and isolates dirty water, solving the cross-contamination problem that leaves dull films on LVT, with hands-free wringing for a damp pass.View Product →
Households with large open floor areas should weigh tank capacity as well, because a bigger reservoir keeps the rinse water cleaner for longer and roughly halves the refill trips on floors above forty square meters.
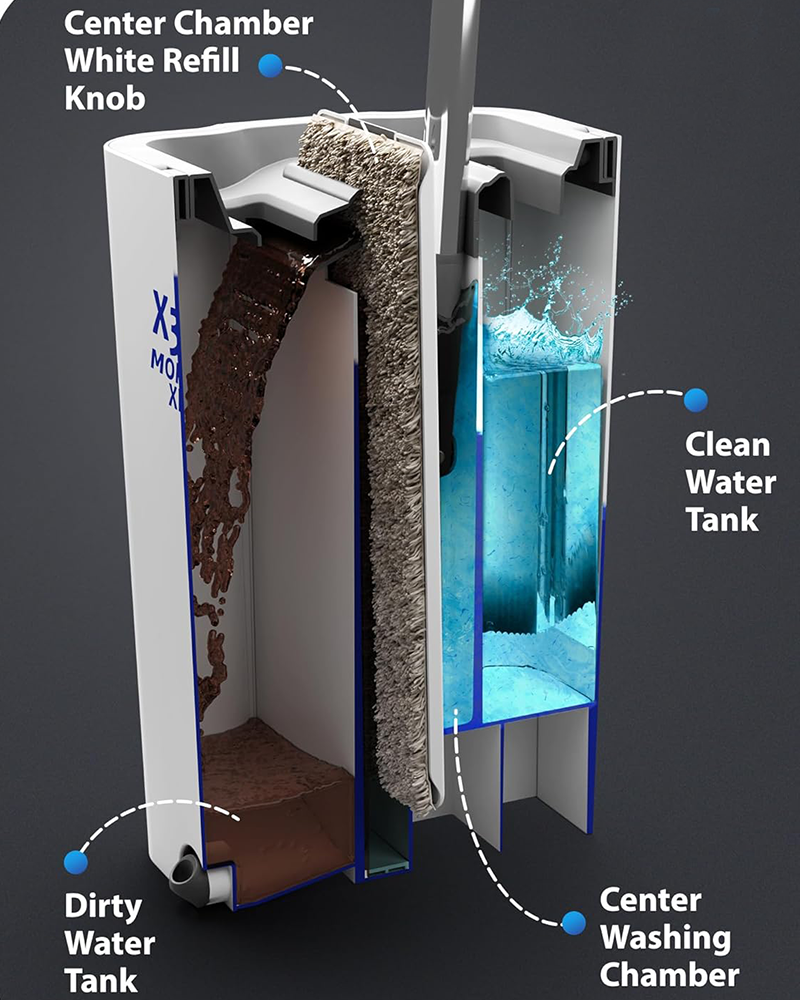 Professional Mopx Big Capacity Flat Mop Bucket SetLarge reservoirs keep rinse water cleaner longer and cut refill trips on floors over forty square meters, making this separation bucket set a fit for spacious homes and commercial areas.View Product →
Small Habits That Extend the Life of LVT
- Fit felt pads under every chair and table leg, and replace them when they wear flat.
- Place walk-off mats at exterior doors so grit stops before it reaches the floor.
- Lift furniture instead of dragging it, and use hard-surface coasters when sliding is unavoidable.
- Trim pet nails and think twice about stiletto heels, since concentrated pressure dents vinyl.
- Use blinds or curtains on sun-facing glass, because years of direct sunlight can fade the printed layer.
Clean LVT well and the routine is almost boring: dry remove, damp mop with a pH-neutral cleaner, wipe spills fast, and keep steam and abrasives out of the cupboard. Pair that sequence with a flat mop and a bucket that keeps rinse water clean, and the floor will keep the look you paid for. The wear layer does the heavy lifting every day; the routine just has to stop scratching it.