
 English
 Español
 中文简体
中文简体
Content
- 1 Why Proper Mopping Matters More Than You Think
- 2 Gather the Right Tools and Solution
- 3 The Step-by-Step Guide to Mopping a Floor Well
- 4 Mopping Different Floor Types
- 5 Common Mopping Mistakes and How to Avoid Them
- 6 How Often Should You Mop?
- 7 When to Replace Your Mop
- 8 Choosing the Right Mop for the Job
You just finished mopping the kitchen floor. Ten minutes later, someone walks through and leaves a trail of dusty footprints. When you look closer, you notice streaks and a sticky film on the tile. This scene repeats in thousands of homes every week, and the cause is rarely the mop or the cleaning product. The real problem is usually the mopping technique. This article explains how to properly mop a floor, starting with the core principle: a clean floor comes from controlled water, the right cleaner, and deliberate strokes.
Why Proper Mopping Matters More Than You Think
Proper mopping is about removing soil, not just moving it around. A mop that carries dirty water back onto the floor with every stroke spreads bacteria instead of eliminating it. The difference becomes obvious when you wipe a freshly mopped floor with a white cloth: a correctly mopped floor leaves the cloth almost clean, while a poorly mopped floor leaves grey streaks and residue.
Technique also protects the floor itself. Excess moisture seeps into hardwood seams, swells laminate edges, and leaves mineral deposits on tile. The wrong cleaner can strip sealant or dull a glossy surface. When done correctly, the floor dries quickly, the surface is genuinely clean, and the space stays clean longer, which means you do not have to mop as often.
Gather the Right Tools and Solution
Before you wet anything, assemble your supplies. A typical residential mopping setup includes a mop, a bucket with a wringer system, clean water, and a cleaning solution matched to your floor type. The bottom line is that the tool should fit the surface. A flat mop with a swivel head works well on tile, laminate, and hardwood, while a traditional string mop suits rough or large areas like garage floors.
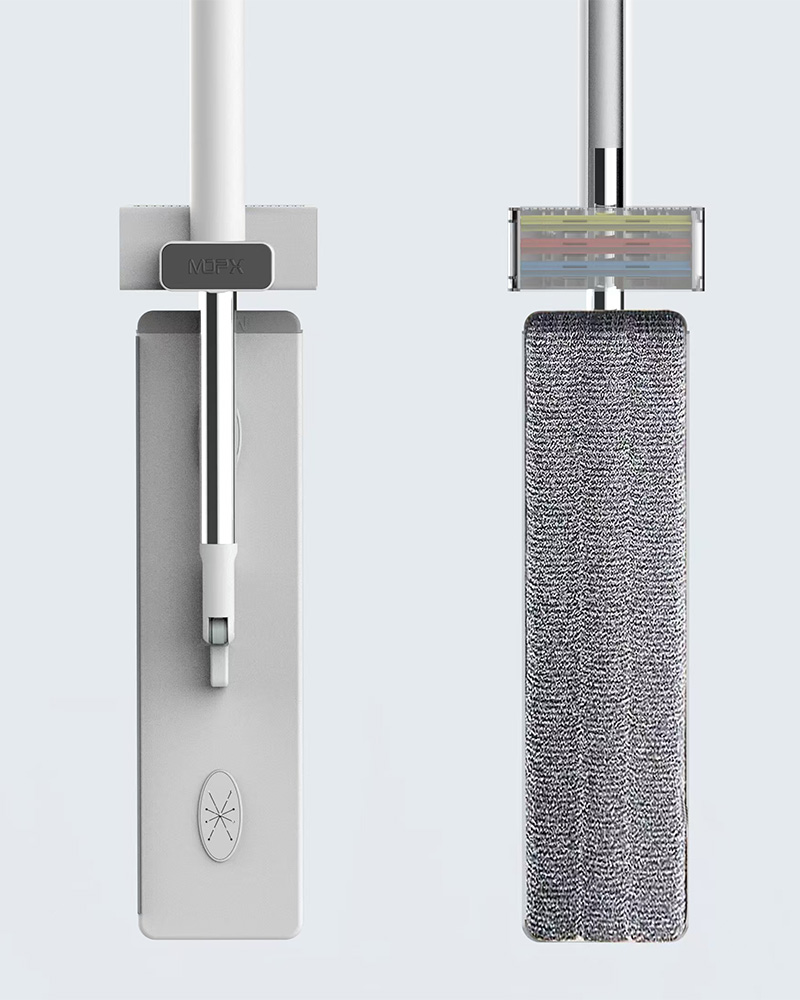
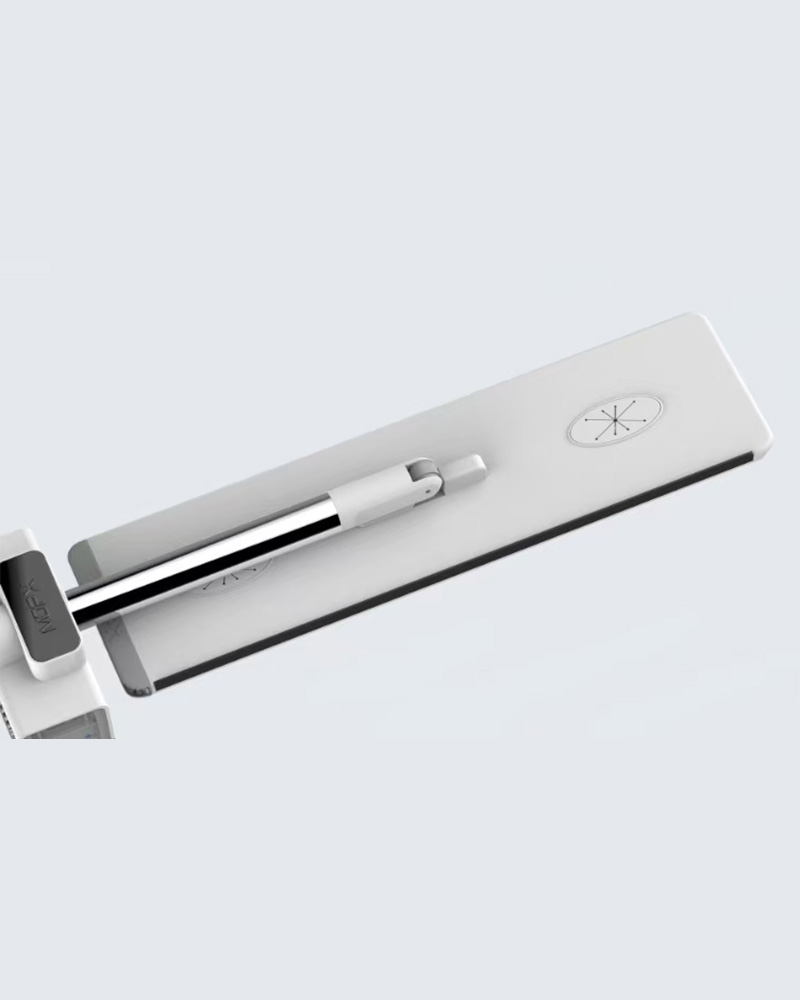 Custom Floor Cleaning Mop Tool Mopx Flat Mop Manufacturers, Source Factory - NinNingbo Yaxiang Cleaning Products Co., Ltd is China custom Floor Cleaning Mop Tool Mopx Flat Mop manufacturers and source factory,The Floo...View Product →
The solution ratio matters more than most people realize. For general purpose floor cleaners, the recommended dilution is roughly one quarter cup of solution per two gallons of water. Using more than the label directs does not make the floor cleaner; it leaves a sticky film that attracts dirt faster. Avoid ammonia, vinegar, and pure water on most sealed floors. Ammonia dulls the gloss of finished surfaces, vinegar is not neutral enough for delicate coatings, and water alone cannot dissolve grease. When in doubt, use a concentrated floor cleaner specifically labeled for your floor type and mix it exactly as instructed.
The Step-by-Step Guide to Mopping a Floor Well
Follow these steps in order, and the result will be a floor that looks clean and stays clean.
- Clear the floor. Move furniture, rugs, and loose items out of the way.
- Dry-clean first. Sweep or vacuum to remove dust, hair, and grit. Mopping damp debris only turns it into mud.
- Prepare the solution in a bucket. Mix the cleaner with warm water at the recommended ratio.
- Divide the floor into small sections. Work in roughly two meter squares so the solution does not evaporate before you wipe it up.
- Dip and wring the mop until it is damp, not dripping. A dripping mop leaves pooling water that damages floors and dries into spots.
- Mop each section with overlapping S-shaped strokes. This pattern covers the surface evenly and prevents missed strips.
- Rinse the mop after every section. Dip it in clean water, wring it well, and return to the next section.
- Let the floor air-dry. Open windows or turn on a fan to speed up drying, but do not walk on the floor until it is dry.
The most common mistake happens in step five. People use too much water and assume that wetter equals cleaner. The opposite is true: a damp mop with the correct amount of solution lifts dirt off the surface, while a soaked mop pushes dirty water into crevices and leaves a film behind.
Mopping Different Floor Types
Different floors respond to moisture and chemistry in different ways. The table below summarizes the recommended mop, cleaner, and frequency for common residential surfaces. When you match the tool to the floor, you avoid damage and get better results.
| Floor type | Recommended mop | Cleaner type | Frequency | Special caution |
|---|---|---|---|---|
| Ceramic tile | Flat mop | Neutral pH cleaner | Weekly | Clean grout lines periodically |
| Hardwood | Flat mop with microfiber pad | Wood-specific neutral cleaner | Every 2 weeks | Wring until barely damp |
| Laminate | Flat mop | Laminate-safe mild cleaner | Monthly | Never allow water to pool |
| Vinyl plank | Flat mop | Mild all-purpose cleaner | Weekly | Avoid abrasive scrub pads |
| Concrete | String mop or large flat mop | Degreaser or alkaline cleaner | As needed | Rinse thoroughly to prevent haze |
Ceramic tile tolerates more moisture than any other common floor, which makes it the easiest to mop. Hardwood and laminate require a nearly dry mop because water is the main cause of swelling and warping. Vinyl plank sits between tile and laminate in moisture tolerance, but sharp abrasives can scratch its printed surface. If you have multiple floor types in your home, use separate mop pads for different rooms to avoid transferring oils or residues between surfaces.
Common Mopping Mistakes and How to Avoid Them
Most floor cleaning failures come from a small set of avoidable errors.
- Using too much water. Excess moisture warps boards and leaves residue. Wring until damp.
- Skipping the dry-clean step. Dust and pet hair turn to mud when mixed with water. Sweep or vacuum first.
- Mopping in circles. Circular strokes create overlapping patches and push dirt sideways. Use straight S-shaped lines.
- Not rinsing the mop. A dirty mop deposits more soil than it removes. Rinse after every section.
- Using the wrong cleaner. Acidic or ammonia-based products damage sealants and leave a dull coating. Match the cleaner to the floor.
- Leaving water to dry slowly. Slow drying encourages mineral spots and, on wood, cupping. Open windows or run a fan.
Each of these mistakes is easy to fix once you recognize it. The common thread is that proper mopping is a deliberate process, not a quick wet wipe. Pay attention to the amount of water on the mop, the pattern you use, and the condition of the mop itself.
How Often Should You Mop?
There is no single number that works for every household. The right mopping frequency depends on foot traffic, pets, children, and cooking habits. Use the chart below as a starting point and adjust it to your own situation.
Times per month based on typical household traffic patterns
The recommended mopping frequency depends on how much traffic a floor receives. The kitchen leads the list because cooking generates grease splashes and food debris that attract microbes. Bathrooms need frequent mopping because moisture and soap scum create an environment where mold can grow. Entryways collect dirt from shoes, so a weekly schedule keeps the soil from migrating deeper into the home. Living rooms and bedrooms typically see less foot traffic, so a monthly or twice-monthly routine is enough. Adjust these numbers based on children, pets, and seasonal weather rather than treating them as fixed rules.
When to Replace Your Mop
A mop wears out slowly, so most people do not notice the moment it becomes a hygiene problem. The chart below shows how quickly bacteria build up on a mop head that is rinsed after each use but never dried or disinfected.
Relative index where 1 is the baseline after a thorough rinse
On day zero, after a thorough rinse with clean water, the bacterial count is at its lowest point. By day two, microbes that survived in the damp fibers begin to multiply quickly. After five days, the mop head carries more bacteria than the dirty floor it is meant to clean. By day seven, every pass spreads contamination across the surface. This progression explains why mop heads must be rinsed, squeezed dry, and hung in a ventilated area after each session. For flat mop pads, replace them every two to three months or sooner if the fibers become matted or emit a musty odor. A practical way to extend the life of your mop is to learn how to properly clean and maintain a flat mop after use and follow that routine from the first week.
Choosing the Right Mop for the Job
The right mop makes proper technique easier to apply. The radar comparison below shows why flat mops have become the standard recommendation for home cleaning.
Ratings from 1 to 5 based on typical residential use
Cleaning coverage is rated higher because the rectangular head presses against the floor with full contact instead of relying on narrow strings. Wringing ease favors the flat design, especially when paired with a bucket that presses water out of the pad. Water efficiency is also better, because the pad holds a controlled amount of moisture rather than soaking the entire surface. Maneuverability improves as a swivel head slides under furniture and along baseboards. Traditional string mops still match up reasonably in stain removal, but the flat mop wins on every measure that affects everyday convenience.
Approximate minutes for a single person using proper technique
Using a mop that is compatible with your floor type shortens the time required for the job. A traditional string mop with a standard bucket demands constant rinsing and wringing, which adds minutes to every session. A flat mop with a swivel head covers more surface area per stroke, so the same room takes far less time. A clean and dirty water separation mop bucket set eliminates the need to refill the bucket several times during a single cleaning session. A hands-free washing mop bucket set combines rinsing and wringing in one motion, which makes the entire process faster and more consistent. For a deeper look at why the flat mop design works this way, read about the advantages of flat mops over traditional string mops.
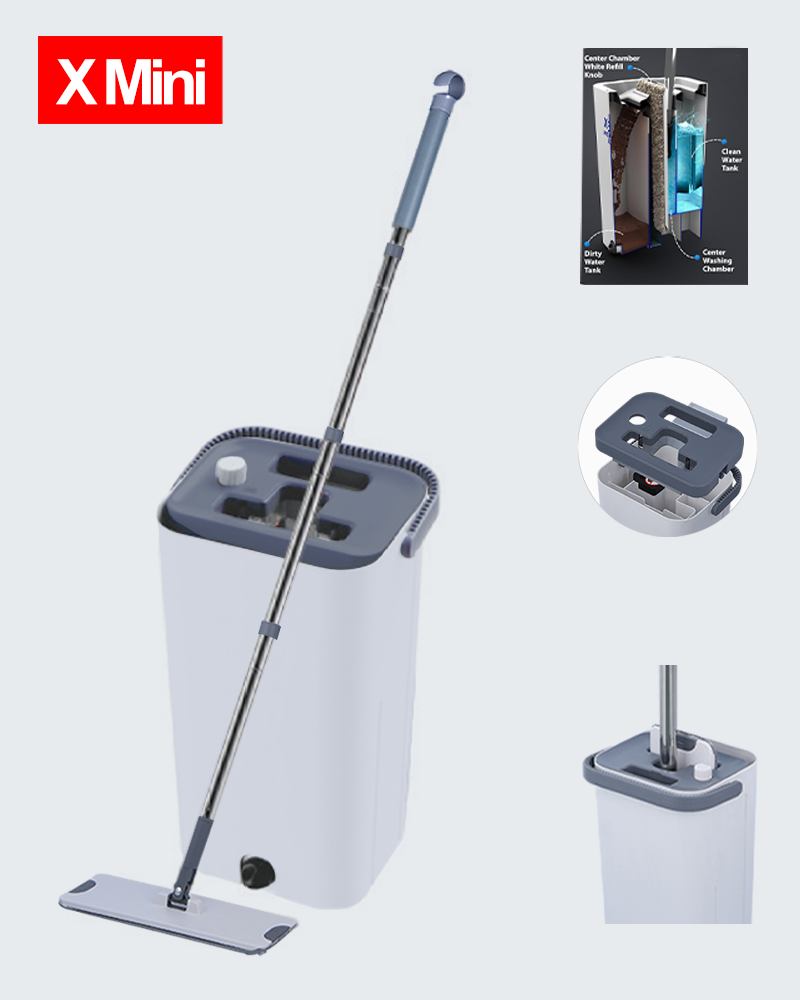
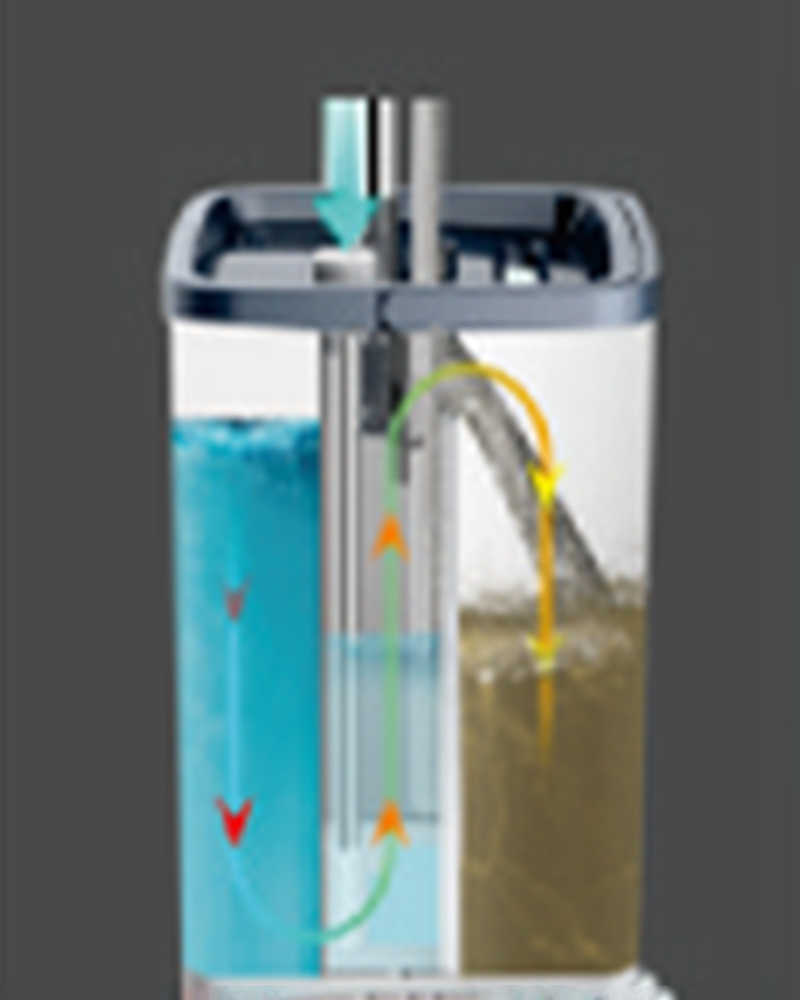 Custom Hands Free Washing Mopx Flat Mop Bucket Set Manufacturers, Source FactoryNingbo Yaxiang Cleaning Products Co., Ltd is China custom Hands Free Washing Mopx Flat Mop Bucket Set manufacturers and source factory,Th...View Product →
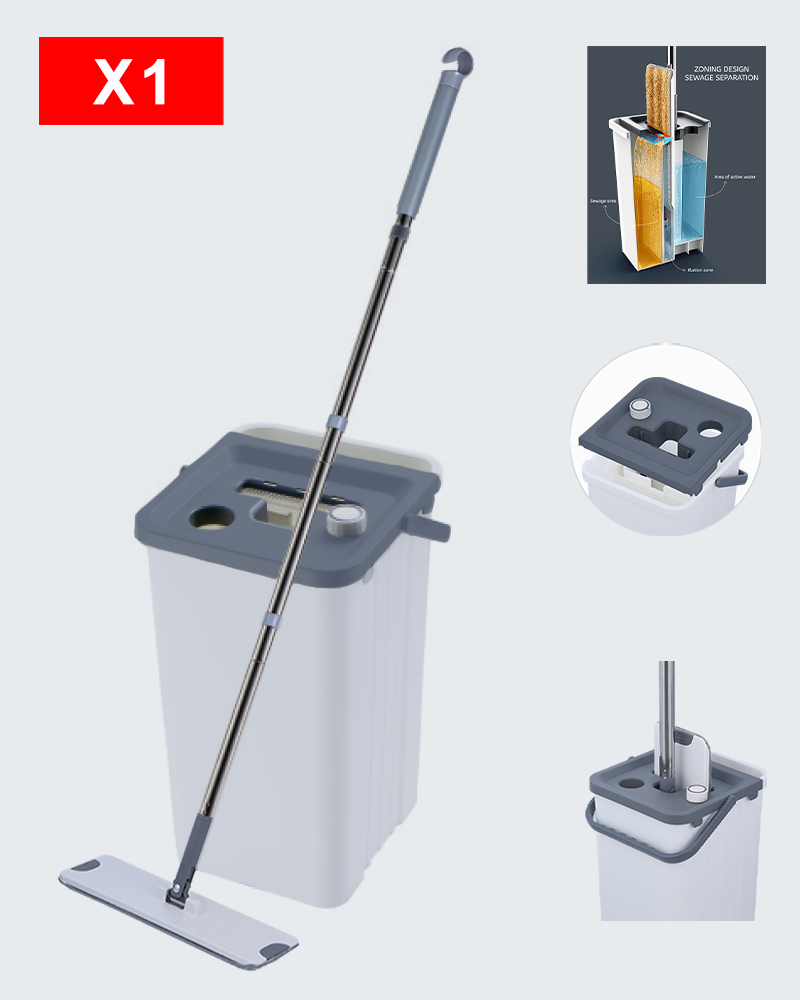
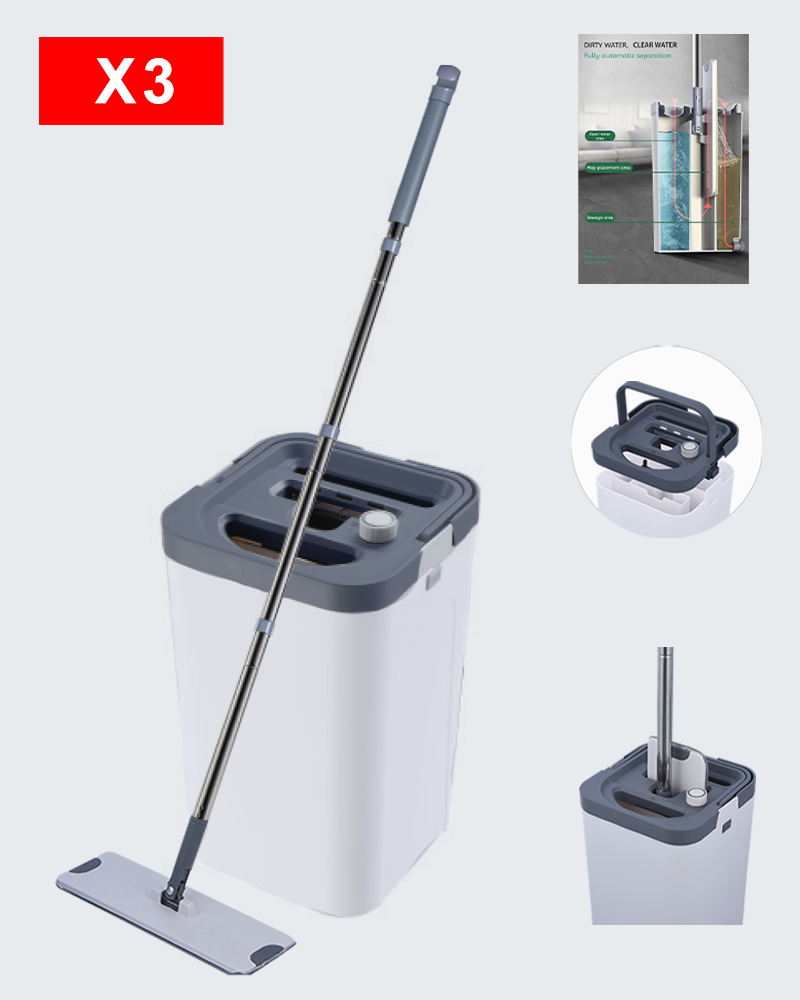
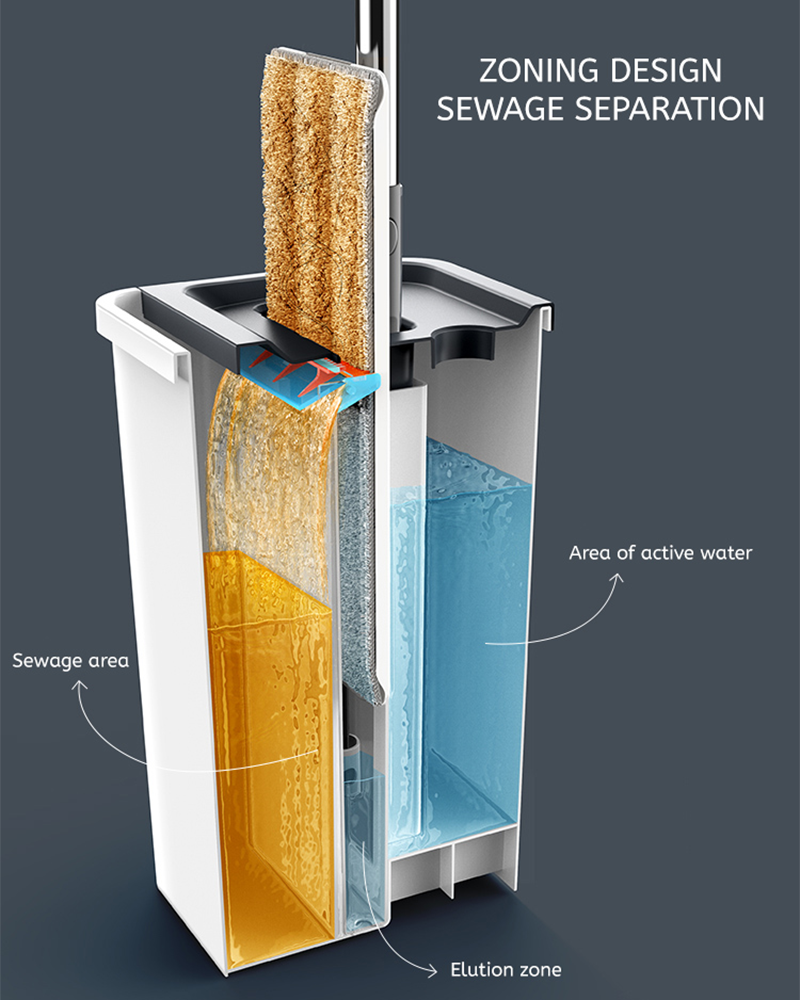 Custom Clean And Dirty Water Separation Mop Bucket Set Manufacturers, Source FacNingbo Yaxiang Cleaning Products Co., Ltd is China custom Clean And Dirty Water Separation Mop Bucket Set manufacturers and source factor...View Product →
The takeaway is simple. Proper mopping is not a complicated skill, but it does require the right equipment, the right solution, and deliberate technique. Clear the floor first, use a damp mop, work in small sections, and rinse often. Match your frequency to the traffic in each room, and replace worn mop heads before they become a source of bacteria. Do these things consistently, and your floors will look cleaner and stay clean longer.